Sedona (vortex sites), Arizona
3-Day Itinerary for Solo Traveler
“Red Rock Rising: Three Days of Vortex Light in Sedona”

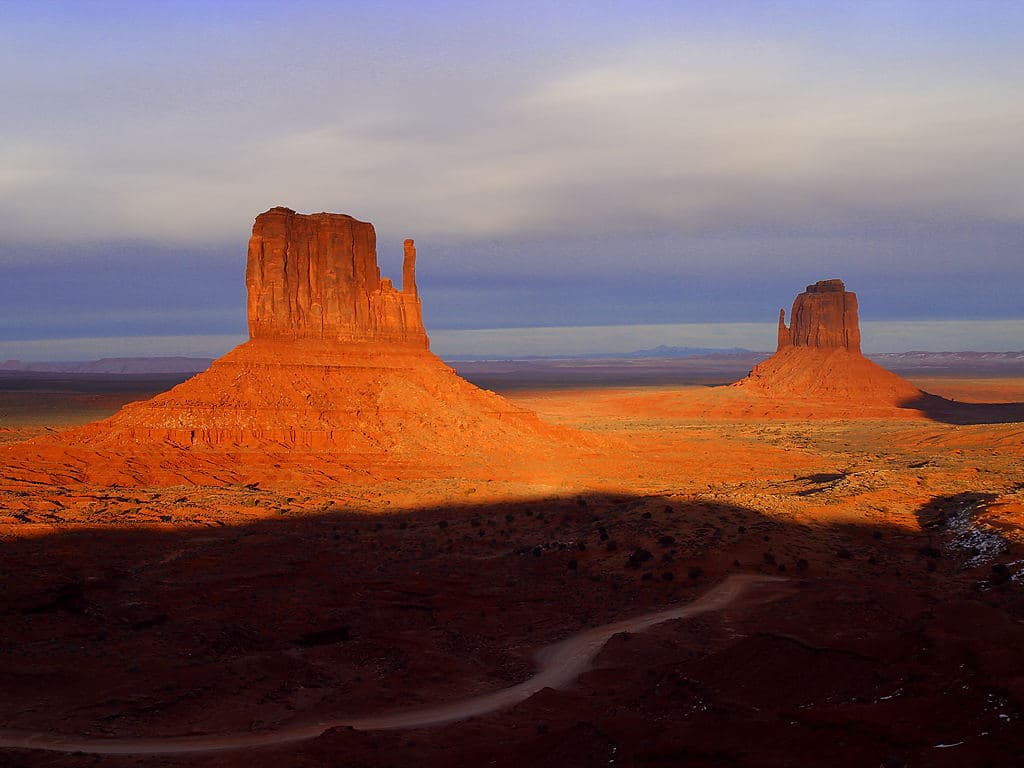
The red rock here doesn't just sit on the horizon — it leans into you, warm and rust-colored, humming faintly with whatever you want to call that energy. This three-day loop moves slow and early, chasing shade and silence before the heat and the crowds arrive, built for a solo traveler who wants both solitude on the trail and easy conversation back in town.
At a Glance
Highlights
- Sunrise alone atop Airport Mesa before the crowds surface
- Squeezing through Cathedral Rock's saddle gap at golden hour
- Tracing Bell Rock's ridgeline with 360-degree valley views
- Early-morning starts that dodge summer's brutal midday heat
- Communal-table dinners built for solo conversation
- Red dust, juniper air, and total quiet at 7am
Day-by-Day Plan
Day 1: Arrival and the Mesa's Wide-Open Hush
A lighter arrival day anchored by one moderate-energy hike at Airport Mesa, easing into Sedona's rhythm with roughly 2 miles of walking.
Arrive while the parking lot still has open spaces and the light is doing its slow gold thing across the valley — by 9am this overlook is shoulder-to-shoulder, but at 6:30 it's just you, the wind, and 360 degrees of red rock. The trail isn't long, but the exposed mesa top and loose gravel call for careful footing; take it slow and let the quiet do its work. This is the easiest vortex site to reach, making it a gentle, low-stakes introduction to Sedona's reputed energy.

Ease into Sedona with a pre-dawn drive to Airport Mesa, arriving while the lot is still nearly empty and the light is doing its slow gold thing over the valley. The walk up is short but the terrain is uneven — loose red gravel and exposed rock — so this is as much about finding your footing, literally and figuratively, as it is about the view. Sitting at the main overlook as the sun clears the horizon is a good first taste of why people talk about this place the way they do.
With no second major hike scheduled, use the afternoon to acclimate: grab coffee in town, wander the shops, and let your body adjust to the elevation and heat before tomorrow's more demanding day. This is intentionally the lightest day of the trip — a chance to get oriented, refill water bottles, and pick up a Red Rock Pass if you haven't already.
Keep the evening unhurried. Plan meals around town rather than the trailhead, since options up at Airport Mesa itself are essentially nonexistent — Uptown Sedona has the density of restaurants and communal dining spots better suited to a relaxed first night, and turning in early sets you up well for tomorrow's early start.
Day 2: Saddle Gaps and Sacred Silence
The trip's most demanding day, combining Cathedral Rock's steep scramble with Bell Rock's ridgeline in the South Sedona Vortex Trail Loop, covering roughly 4-5 miles of hiking.
This is Sedona's most photographed formation, and for good reason — the twin spires rise like something built rather than eroded, and the scramble up through the narrow saddle gap is genuinely thrilling, hands on warm sandstone, red dust on your clothes. Arriving at 6am means dodging both the crowds and the worst of the heat; this trail gets serious midday sun with zero shade. It's steep and requires real scrambling, not a casual stroll, so solo hikers should feel confident on uneven terrain before attempting the saddle.
After Cathedral Rock's intensity, Bell Rock feels like a wide exhale — a moderate-energy climb with a broader, more forgiving trail and sweeping 360-degree views toward Courthouse Butte. It's also one of the friendliest trails in Sedona for solo travelers, since other hikers frequently pause at the overlooks to chat or compare notes on the vortex sites. By mid-morning the lot is filling, but you'll already have the ridgeline views banked from the earlier light.

The day starts before dawn with the drive to Cathedral Rock, aiming to be on the trail by 6am while the air is still cool and the parking lot has space. The scramble to the saddle is the physical high point of the whole trip — hands on warm rock, careful footing on loose stone, and a payoff of light shafts cutting between the spires if the timing lines up right. This is not a trail to rush; take the steep sections slowly and know that by 10am this same spot will be crowded and brutally hot.
From Cathedral Rock, a quick drive down SR 179 delivers you to Bell Rock, where the pace shifts to something more social and sustainable — broader trails, better shade pockets, and other hikers who are often happy to swap trail stories at the overlooks. This is a good stretch to slow down, refill water, and let the morning's intensity settle before the afternoon heat really sets in.
With both major hikes behind you, the evening is for recovery — plan dinner in town at a relaxed pace, since dining data right at the trailheads is sparse and it's better to base meals around Sedona's restaurant core. A glass of Arizona wine and an early night will serve you well before tomorrow's final push.
Day 3: Last Light, Wide Views
A lighter closing day revisiting North Sedona's expansive views before departure, with roughly 2 miles of easy walking.
Returning to Airport Mesa on the final morning gives the trip a natural bookend — same mesa, same wide silence, but familiar now instead of new. Early arrival again means having those 360-degree views nearly to yourself, a good final chance for photography before the light flattens and the crowds arrive. Take this one slower than the first visit; there's no rush today, just the chance to sit with the view a while longer.
The last morning circles back to Airport Mesa, arriving early once more to catch the mesa in that same soft gold light. There's less urgency today — no need to check off new ground, just space to sit at the overlook a while longer and notice what's different after two days of hiking this landscape.
With hiking behind you, the afternoon is for logistics and a slower pace: pack up, grab a final coffee or snack in town, and allow buffer time for the drive back toward Phoenix or Flagstaff, since Highway 89A can be slow with summer traffic.
Departure timing will likely mean an early exit rather than a full evening in Sedona — if there's time before hitting the road, a final relaxed lunch in town is a good way to close out the trip before the drive south.
Want to tweak this trip?
Our AI planner can customize this itinerary to your exact dates, interests, and travel style.
Customize This ItineraryRestaurant details (hours, menus, availability) change frequently. Check current hours before visiting, especially in seasonal destinations.
Dietary compatibility tags are general guidance. If you have severe allergies, confirm directly with the restaurant.
Travel tips are general guidance, not professional safety advice. Check government advisories for latest information.
All prices are approximate and may vary seasonally.
Attractions in This Itinerary
More Itineraries for Sedona (vortex sites)
Explore Arizona