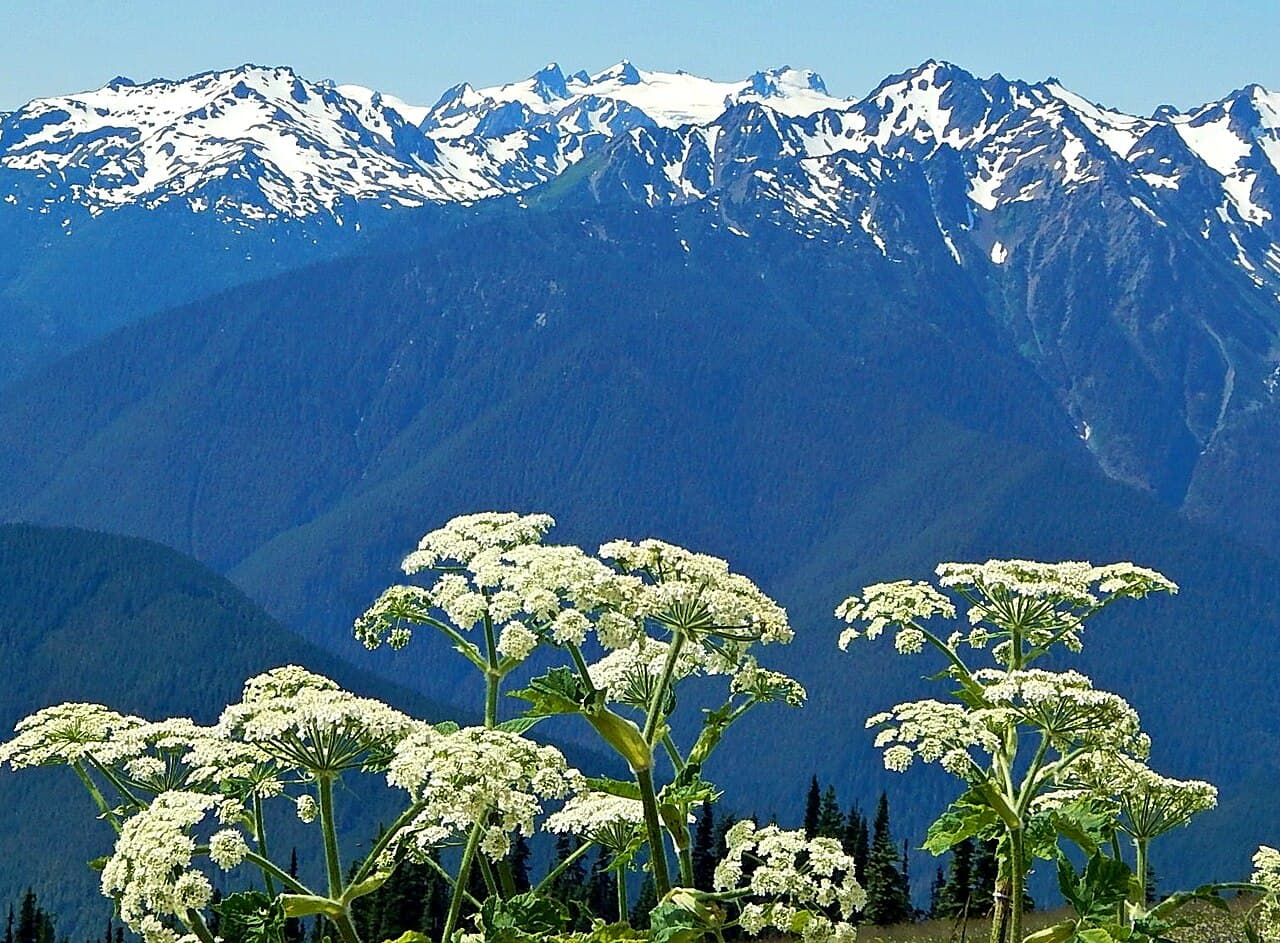
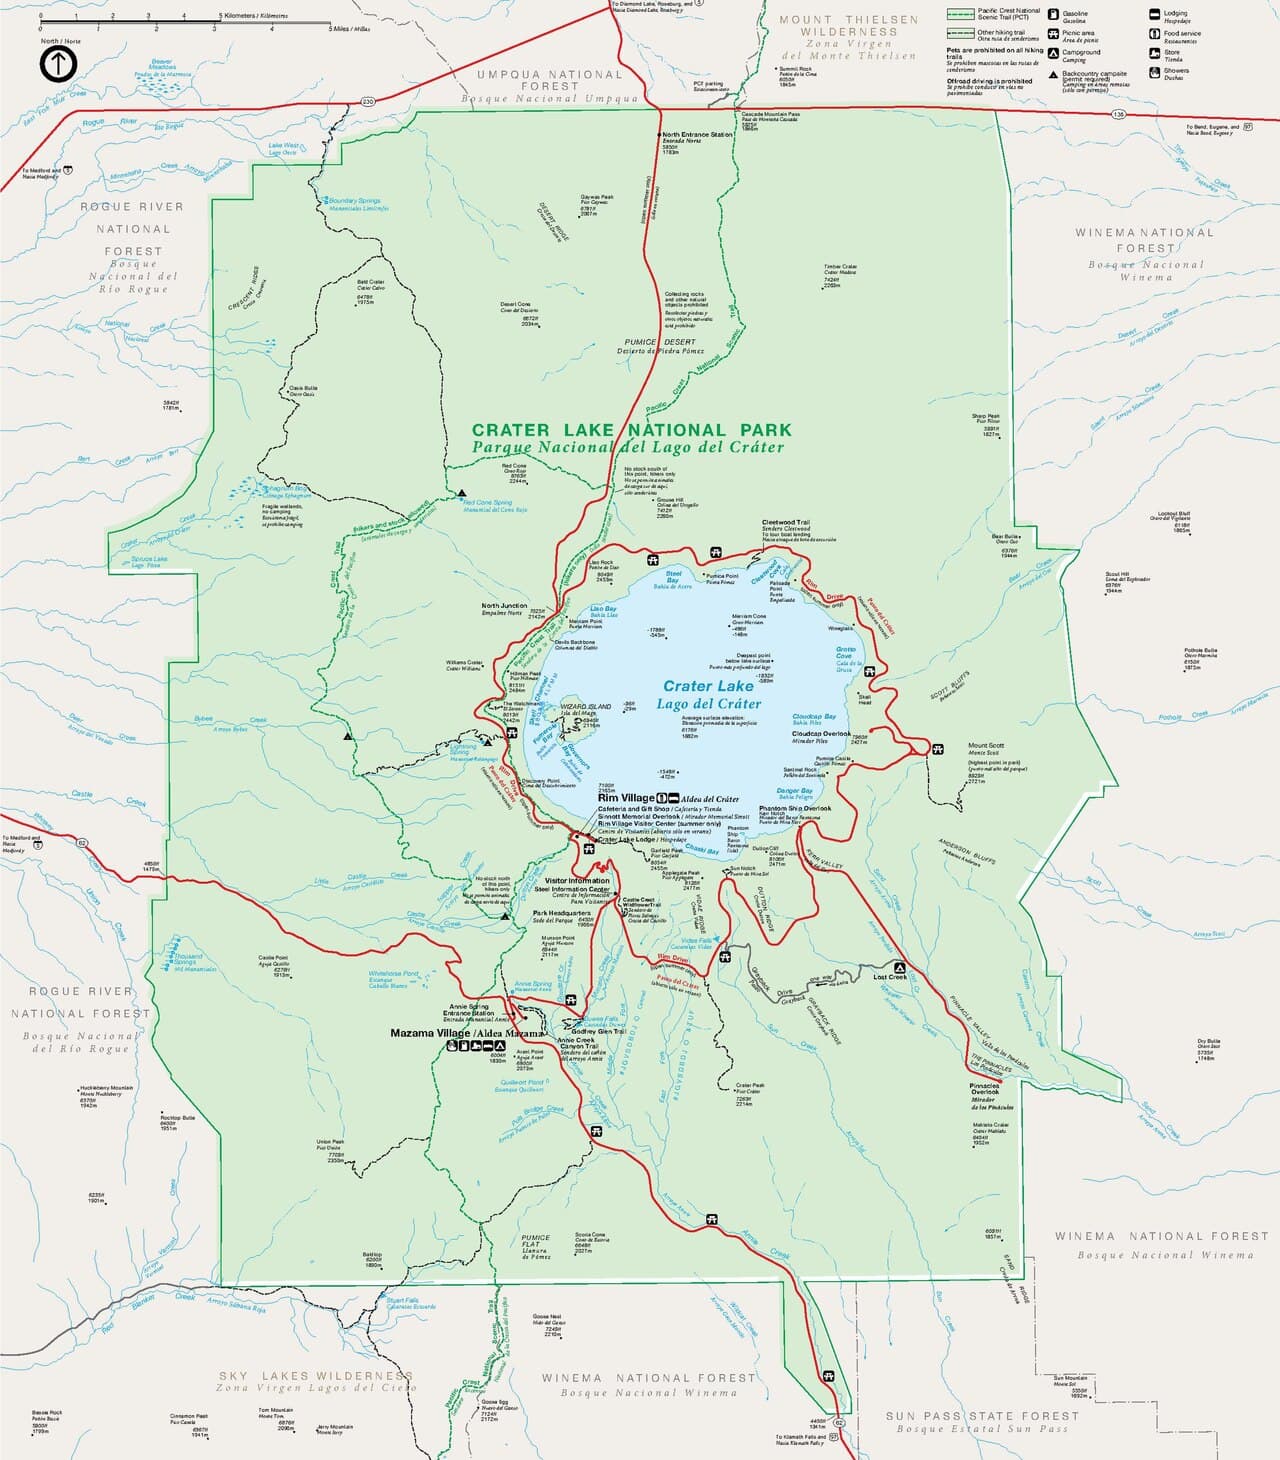
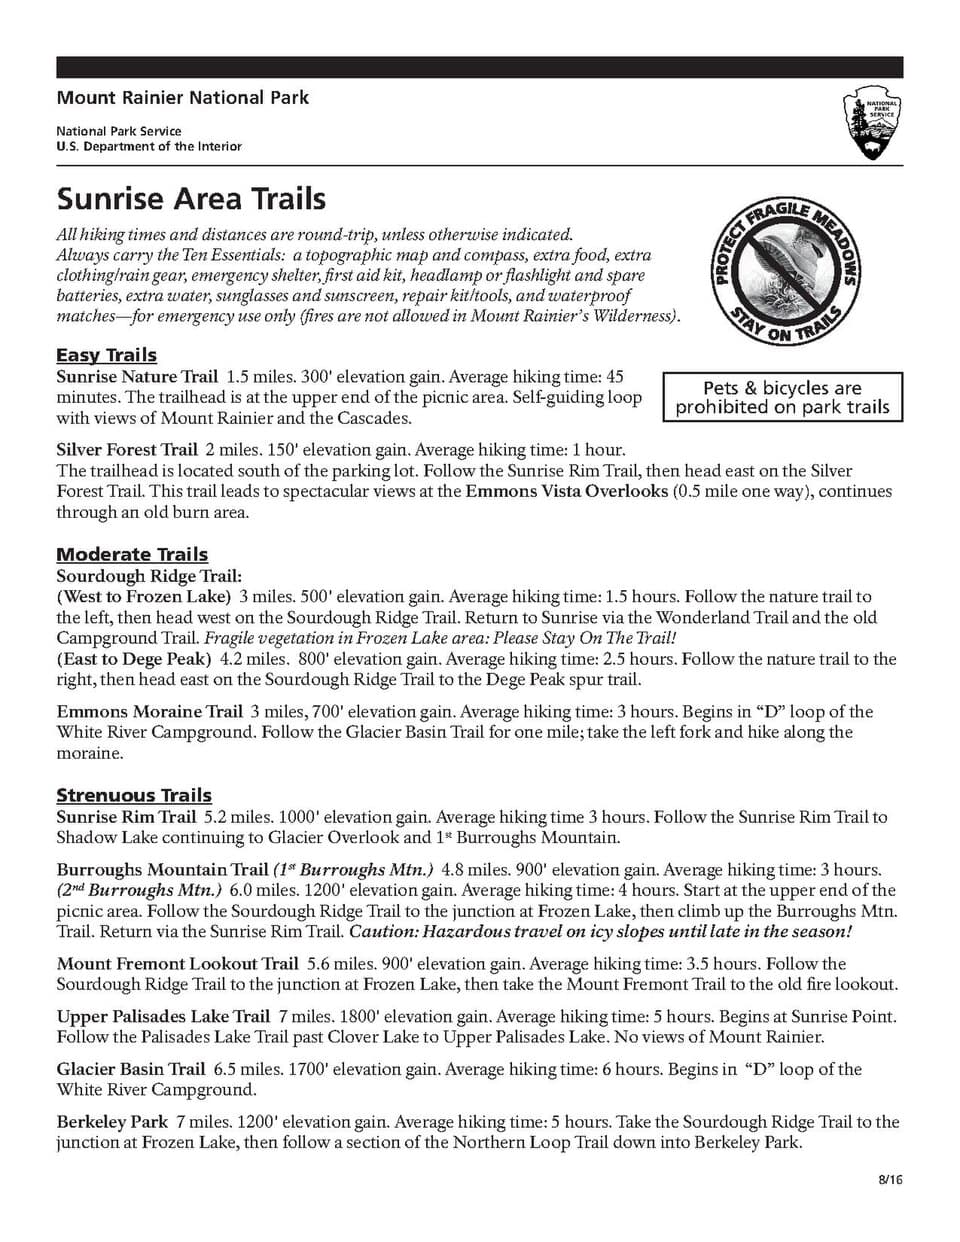
Yakima area, Washington
3-Day Itinerary for Solo Traveler
“Valley of Vines: Three Days of Wine, Roots, and River Light in Yakima”

The valley opens like a poured glass — pale gold light over rows of vines, basalt cliffs standing sentinel in the distance. This is a place where wine, soil, and solitude sit comfortably together, and where a solo traveler can slow down enough to actually taste it.
At a Glance
Highlights
- Golden-hour tastings among Yakima Valley vineyard rows
- Hands-on history at a century-old ag museum
- Farm-to-table lunch amid orchard blossoms
- Solo-friendly bar seating at valley tasting rooms
- Basalt canyon views along the Yakima River
- Wildflower-flecked spring drives with fewer crowds
- Cellar-cool tasting rooms as a rainy-day refuge
Day-by-Day Plan
Day 1: Easing Into the Valley
A gentle first day centered on Yakima Valley Wine Country, with light walking (under 2 miles) and a relaxed pace to settle in.
Start soft — the valley's tasting rooms open mid-morning, and arriving right at opening means having the pourer's full attention, not a crowd. Sunlight slants low across the vineyard rows, catching dew still clinging to new spring leaves. The first pour is often a crisp white, cool in the glass, a gentle welcome after a travel day. Ask about the communal tasting table if one's offered — it's an easy, low-pressure way to meet fellow travelers without the pressure of a full conversation.
The day begins unhurried, easing into the valley's rhythm rather than rushing it. A single tasting room anchors the morning — arriving early means quiet rooms, attentive pourers, and time to actually notice the sensory details: the pop of a cork, the cool cellar air against the warming day outside, the way afternoon light catches burgundy in the glass.
After a long lunch at Hatback Bar & Grille — the kind of place where bar seating makes solo dining effortless — the afternoon stays loose. This is a settling-in day, not a checklist day; there's no second major stop scheduled, giving room to linger over a second glass or simply rest before evening.
Keep dinner low-key and close to where you're staying. With no additional dining data pinned to this day's evening, plan to ask your tasting room hosts or hotel desk for a current favorite — Yakima's downtown scene shifts with the seasons, and locals usually know what's worth the short drive.
Day 2: Roots & Rows — Farm History and Long Lunches
A moderate day through the Agricultural Heritage & Downtown cluster, mixing museum time with a long, orchard-side lunch; roughly 2–3 miles of walking.
Arrive at opening, when the barns are still quiet and the vintage tractors sit in cool, angled morning light — by mid-morning, weekend crowds and school groups can fill the aisles. The air smells of hay and old machine oil; worn tool handles and towering threshing machines make the valley's farming past feel tactile rather than abstract. For a solo traveler, it's a low-key, unhurried hour — no rush, no crowds to navigate around.

Step from a museum about farming into a place still living it — 1910s farm buildings, orchard rows waking up with spring blossoms, dust on the unpaved lanes. This is where the day slows into its long lunch, the meal itself becoming the main event: farm-fresh preserves, weathered barn wood underfoot, birdsong threading through the vines. It's an easy place to linger solo, no itinerary pressure, just orchard light and good food.

Morning belongs to machinery and memory — the Ag Museum's barns hold vintage tractors and threshing equipment in cool, quiet light, best experienced right at opening before any school groups arrive. It's a modest, reflective start to the day, more about texture and history than spectacle.
The short drive to Birchfield Family Farmstead shifts the mood entirely — living orchards instead of static exhibits, blossoms instead of rusted metal. This is where the day's real anchor sits: a long, farm-fresh lunch stretched over orchard views, unhurried and solo-friendly, with preserves and simple dishes that taste like the land around them.
With the day's main appetite satisfied at the farmstead, keep the evening easy — a short walk or drive back toward downtown Yakima, perhaps a nightcap at a wine bar, before an early night ahead of tomorrow's canyon drive.
Day 3: Basalt, Light, and the River's Long Memory
A lighter final day centered on the Yakima River Canyon, with a scenic drive and short, moderate walking (under 2 miles) before departure.
Arrive by 8am and the canyon is nearly silent — just wind through sage, the river's low murmur, and basalt cliffs catching the first warm light. By mid-morning, weekend traffic can pick up along Scenic Loop Road, so this early window is the quiet one. Spring runoff makes the river's current visibly stronger, so stay on the marked pullouts rather than descending to the water's edge. For a solo traveler, this is a rewarding, meditative stop — dramatic scale, very few people, plenty of space to just stand and take it in.

The final morning trades vineyards for basalt — a scenic drive south into the Yakima River Canyon, where cliffs rise abruptly from the valley floor and the river carries a quieter, older kind of energy. Early arrival means solitude: just wind, water, and rock, a fitting contrast to the convivial tasting rooms of the days before.
With the canyon explored, the pace eases toward departure — a slow drive back through the valley, perhaps a final stop at a tasting room if timing allows, watching vineyard rows blur past one last time before the highway takes over.
Departure evening stays simple and unscheduled — grab something easy near the airport or on the drive out, and let the trip's last hours be about the drive itself: sage-scented air through a cracked window, the valley receding in the rearview mirror.
Want to tweak this trip?
Our AI planner can customize this itinerary to your exact dates, interests, and travel style.
Customize This ItineraryRestaurant details (hours, menus, availability) change frequently. Check current hours before visiting, especially in seasonal destinations.
Dietary compatibility tags are general guidance. If you have severe allergies, confirm directly with the restaurant.
Travel tips are general guidance, not professional safety advice. Check government advisories for latest information.
All prices are approximate and may vary seasonally.
Attractions in This Itinerary
More Itineraries for Yakima area
Explore Washington