3 DaysSolo Traveler10 Stops

Wellington, New Zealand

3-Day Itinerary for Solo Traveler

Wind, Waterfront & Wild Green Hills: 3 Days in Wellington

Wind, Waterfront & Wild Green Hills: 3 Days in Wellington

Wellington announces itself in gusts — a harbor city where wind rattles the flags along the waterfront and creative energy spills out of every laneway café. This is a compact capital built for wandering alone: three days of museums that don't feel like homework, a cable car ride into native forest, and long lunches where the bar seat is the best seat in the house.

At a Glance

Climate & Weather
Fall in Wellington (March–May) brings cooling temperatures, thinning crowds, and the city's famous wind at its most unpredictable — pack a wind-resistant shell, layers you can add or shed, and closed-toe shoes for uneven trail sections. Days shorten, so plan sunset viewpoints for mid-to-late afternoon rather than evening.
Getting Around
The city center is entirely walkable, with the cable car and local buses covering the hillier or farther-flung spots like Zealandia and Kelburn; Miramar Peninsula requires a bus or taxi/rideshare, about 20–25 minutes from the CBD.
Budget
Budget roughly NZD $90–140 per day for a solo traveler covering meals, museum entries, and one paid activity like Zealandia or Weta Workshop; coffee culture and casual dining keep costs reasonable outside of splurge dinners.
Safety
Wellington is one of the safer capital cities for solo travelers, with well-lit central streets and a relaxed local culture; the main hazard is weather, not people — strong coastal winds can make exposed lookouts and ferry crossings uncomfortable or unsafe, so check forecasts before heading to Mount Victoria or booking Matiu/Somes Island trips.
Connectivity
Cell coverage and wifi are reliable throughout central Wellington, including museums, cafes, and most accommodation; coverage thins slightly on forested Zealandia trails and out on Matiu/Somes Island.
Local Tips
Arrive at major museums right at opening (10am) to beat school groups and tour buses; fall's shorter days mean Mount Victoria's golden hour shifts to around 5–5:30pm, so plan accordingly; solo diners will find bar seating and communal tables easy to come by at Wellington's casual cafes, especially on weekday evenings.

Highlights

  • Te Papa's earthquake simulator and six floors of unflinching NZ history
  • Cuba Street's mural-soaked laneways and buskers at golden hour
  • The red cable car climbing into Wellington Botanic Garden
  • Birdsong immersion at Zealandia's predator-free sanctuary
  • 360-degree harbor views from Mount Victoria Lookout
  • Weta Workshop's silicone-and-sculpture creative theater
  • Courtenay Place's craft beer bars perfect for solo conversation

Day-by-Day Plan

Arrival & Orientation

Day 1: Settling In: Waterfront Wonders & Bohemian Streets

A gentle first day covering roughly 2.5 miles on foot, easing into Wellington's compact waterfront and creative core with moderate museum time and a relaxed evening.

Wear
Layered clothing with a windproof jacket, comfortable walking shoes, and a scarf for wind protection along the waterfront.
Budget
NZD $70–100 (museum entry is free at Te Papa; budget for lunch, dinner, and a drink or two)
10:00 AM - 12:30 PM
Te Papa Tongarewa (Museum of NZ) · morning · 150 min · Te Aro Waterfront & Cultural Core

Arrive right at 10am opening and the soaring timber-beamed atrium is nearly yours before the first school groups spill in around 10:30. Give yourself a loose two and a half hours — enough to feel the rumble of the earthquake simulator, sit with the Māori wisdom woven through the ground floor galleries, and step out onto the rooftop garden for a harbor breather. This is a museum built for wandering solo; nobody rushes you here.

Te Papa Tongarewa (Museum of NZ)
Photo by Pierre André Leclercq — CC BY-SA 4.0
The curved exterior facade photographs best from across the waterfront forecourt in soft morning light, before the crowds gather.
Fully wheelchair accessible with elevators to all six levels and frequent rest benches throughout.
15 min walkA flat 15-minute stroll from the waterfront up through Te Aro, wind picking up as you cross open intersections.
1:00 PM - 3:00 PM
Cuba Street (Arts & Culture) · midday · 120 min · Te Aro Waterfront & Cultural Core

Cuba Street hums with an unhurried creative energy in early afternoon — buskers tuning up, vintage shop doors propped open, murals catching the light at odd angles down side lanes. Wander without an agenda; this street rewards aimlessness, and solo travelers blend right into the café culture here, laptop-and-latte crowd included.

Cuba Street (Arts & Culture)
Photo by Samuel Cairncross
The mural wall near Dumpling'd catches good light in early-to-mid afternoon; late-afternoon light through the Cuba/Dixon intersection is even richer if you linger.
Pedestrian-friendly with flat paths and frequent benches for rest stops.
12 min walkAn easy walk back down toward the harbor, the wind at your back this time.
3:30 PM - 5:00 PM
Museum of Wellington City & Sea · afternoon · 90 min · Te Aro Waterfront & Cultural Core

A smaller, quieter counterpoint to Te Papa's scale — the smell of aged timber and varnish, ship models lit by soft harbor light through tall windows. This is the kind of intimate museum that rewards a slower pace, and by mid-afternoon on a fall weekday it's often nearly empty, perfect for unhurried, reflective wandering.

Museum of Wellington City & Sea
Photo by Juhele_CZ
The timber hall interior backlit by tall windows makes for moody, atmospheric shots, especially as afternoon light softens.
Wheelchair accessible with elevator access to all levels and frequent benches.
Lunch
Sixes & Sevens $$
International, coffee, salad · Near Te Papa Tongarewa
A relaxed café with communal-style seating near Te Papa — easy for solo diners to settle in with a coffee and light lunch.
Dumpling'd $
Asian fast food · Near Cuba Street
Quick, casual dumplings right on Cuba Street — grab a seat at the counter and watch the street life pass.
Dinner
Miyabi Sushi $$
Japanese, sushi · Near Museum of Wellington City & Sea
Counter seating makes this an easy, low-pressure solo dinner spot near the waterfront museums.
Magic Kitchen $$
Asian · Near Museum of Wellington City & Sea
A casual, unpretentious option for a first-night dinner without much fuss.
Optional detour: City Gallery WellingtonAfter Cuba Street and before Museum of Wellington City & Sea
A contemporary art fix in a striking 1913 heritage building, ideal if museums energize rather than exhaust you. Skip if: Skip if you're already feeling museum-saturated after Te Papa — two art-heavy stops back-to-back can blur together.
If it rains: All three stops today are indoor or largely covered, so rain has minimal impact — Cuba Street's arcade passages and cafes provide easy shelter if a squall passes through.

Ease into Wellington slowly. Te Papa's soaring atrium at opening time feels almost private — the rumble of the earthquake simulator, the quiet weight of the Holocaust exhibition, the hush before school groups arrive around mid-morning. Two and a half hours is enough to hit the highlights without the fatigue of trying to see all six floors.

The pace shifts from contemplative to wandering as Cuba Street's buskers and mural-lined lanes take over — this is a street built for solo aimlessness, coffee in hand. By mid-afternoon, the Museum of Wellington City & Sea offers a quieter, more intimate counterpoint, its timber halls and ship models a gentle wind-down before evening.

Dinner tonight stays low-key and close to the waterfront — sushi counter seating at Miyabi or a casual bowl at Magic Kitchen, both comfortable for solo diners. Save the late-night energy of Courtenay Place for tomorrow; tonight is about settling into the rhythm of the city.

Gardens & Wilderness

Day 2: Green Heights: Cable Cars, Birdsong & City Views

A moderately active day covering roughly 4 miles including trail walking, with elevated energy across Botanic Garden, Zealandia's forest sanctuary, and Mount Victoria's panoramic lookout.

Wear
Sturdy walking shoes or light hikers, a windproof layer for the exposed lookout, and a warm mid-layer as fall temperatures cool in the forested valley.
Budget
NZD $100–140 (Zealandia entry, cable car fare, meals)
9:00 AM - 10:30 AM
Wellington Botanic Garden (Cable Car) · morning · 90 min · Botanic Gardens & Heights

Catch an early cable car — the whirr of the ascent, cool morning air, and Cook Strait glinting between pohutukawa trees before the late-morning crowds arrive. The rose garden and native forest paths feel almost private at this hour, and the walk downhill afterward is a gentle warm-up for the day's more active stretch at Zealandia.

Wellington Botanic Garden (Cable Car)
Photo by Daderot — CC0
The cable car mid-ascent framed against the city below is a classic shot; rose garden views west toward the harbor are best saved for golden hour on a return visit.
Cable car and upper lawns are wheelchair accessible, though some forest paths are uneven.
20 min walkA pleasant downhill walk from the Botanic Garden through Kelburn's quiet, leafy streets.
11:00 AM - 1:00 PM
Zealandia Wildlife Sanctuary · midday · 120 min · Botanic Gardens & Heights

Step into a cool, green-filtered valley where layered birdsong fills the air and fern fronds brush your shoulders on the boardwalk trails. This is New Zealand's rarest birds living wild and predator-free — a genuinely restorative two hours, and a great spot to strike up conversation with fellow solo wanderers pausing at the same viewing platforms.

Zealandia Wildlife Sanctuary
Photo by Daderot — CC0
The main loop boardwalk through native beech grove has beautiful dappled morning light; arrive early for better bird activity and fewer visitors.
Accessible loop with flat sections and frequent rest spots, though some peripheral trails are uneven.
15 min driveA short taxi or rideshare up the winding hill road — worth it to save energy for the steep final approach.
4:00 PM - 5:00 PM
Mount Victoria Lookout · afternoon · 45 min · Botanic Gardens & Heights

With fall's shorter days, golden hour arrives earlier here — aim for 4 to 5pm for warm light spilling across the harbor basin. The wind is constant and bracing at the top, so a windproof layer earns its keep; the 360-degree view stretching from city to Cook Strait to the Remutaka Range is worth every gust.
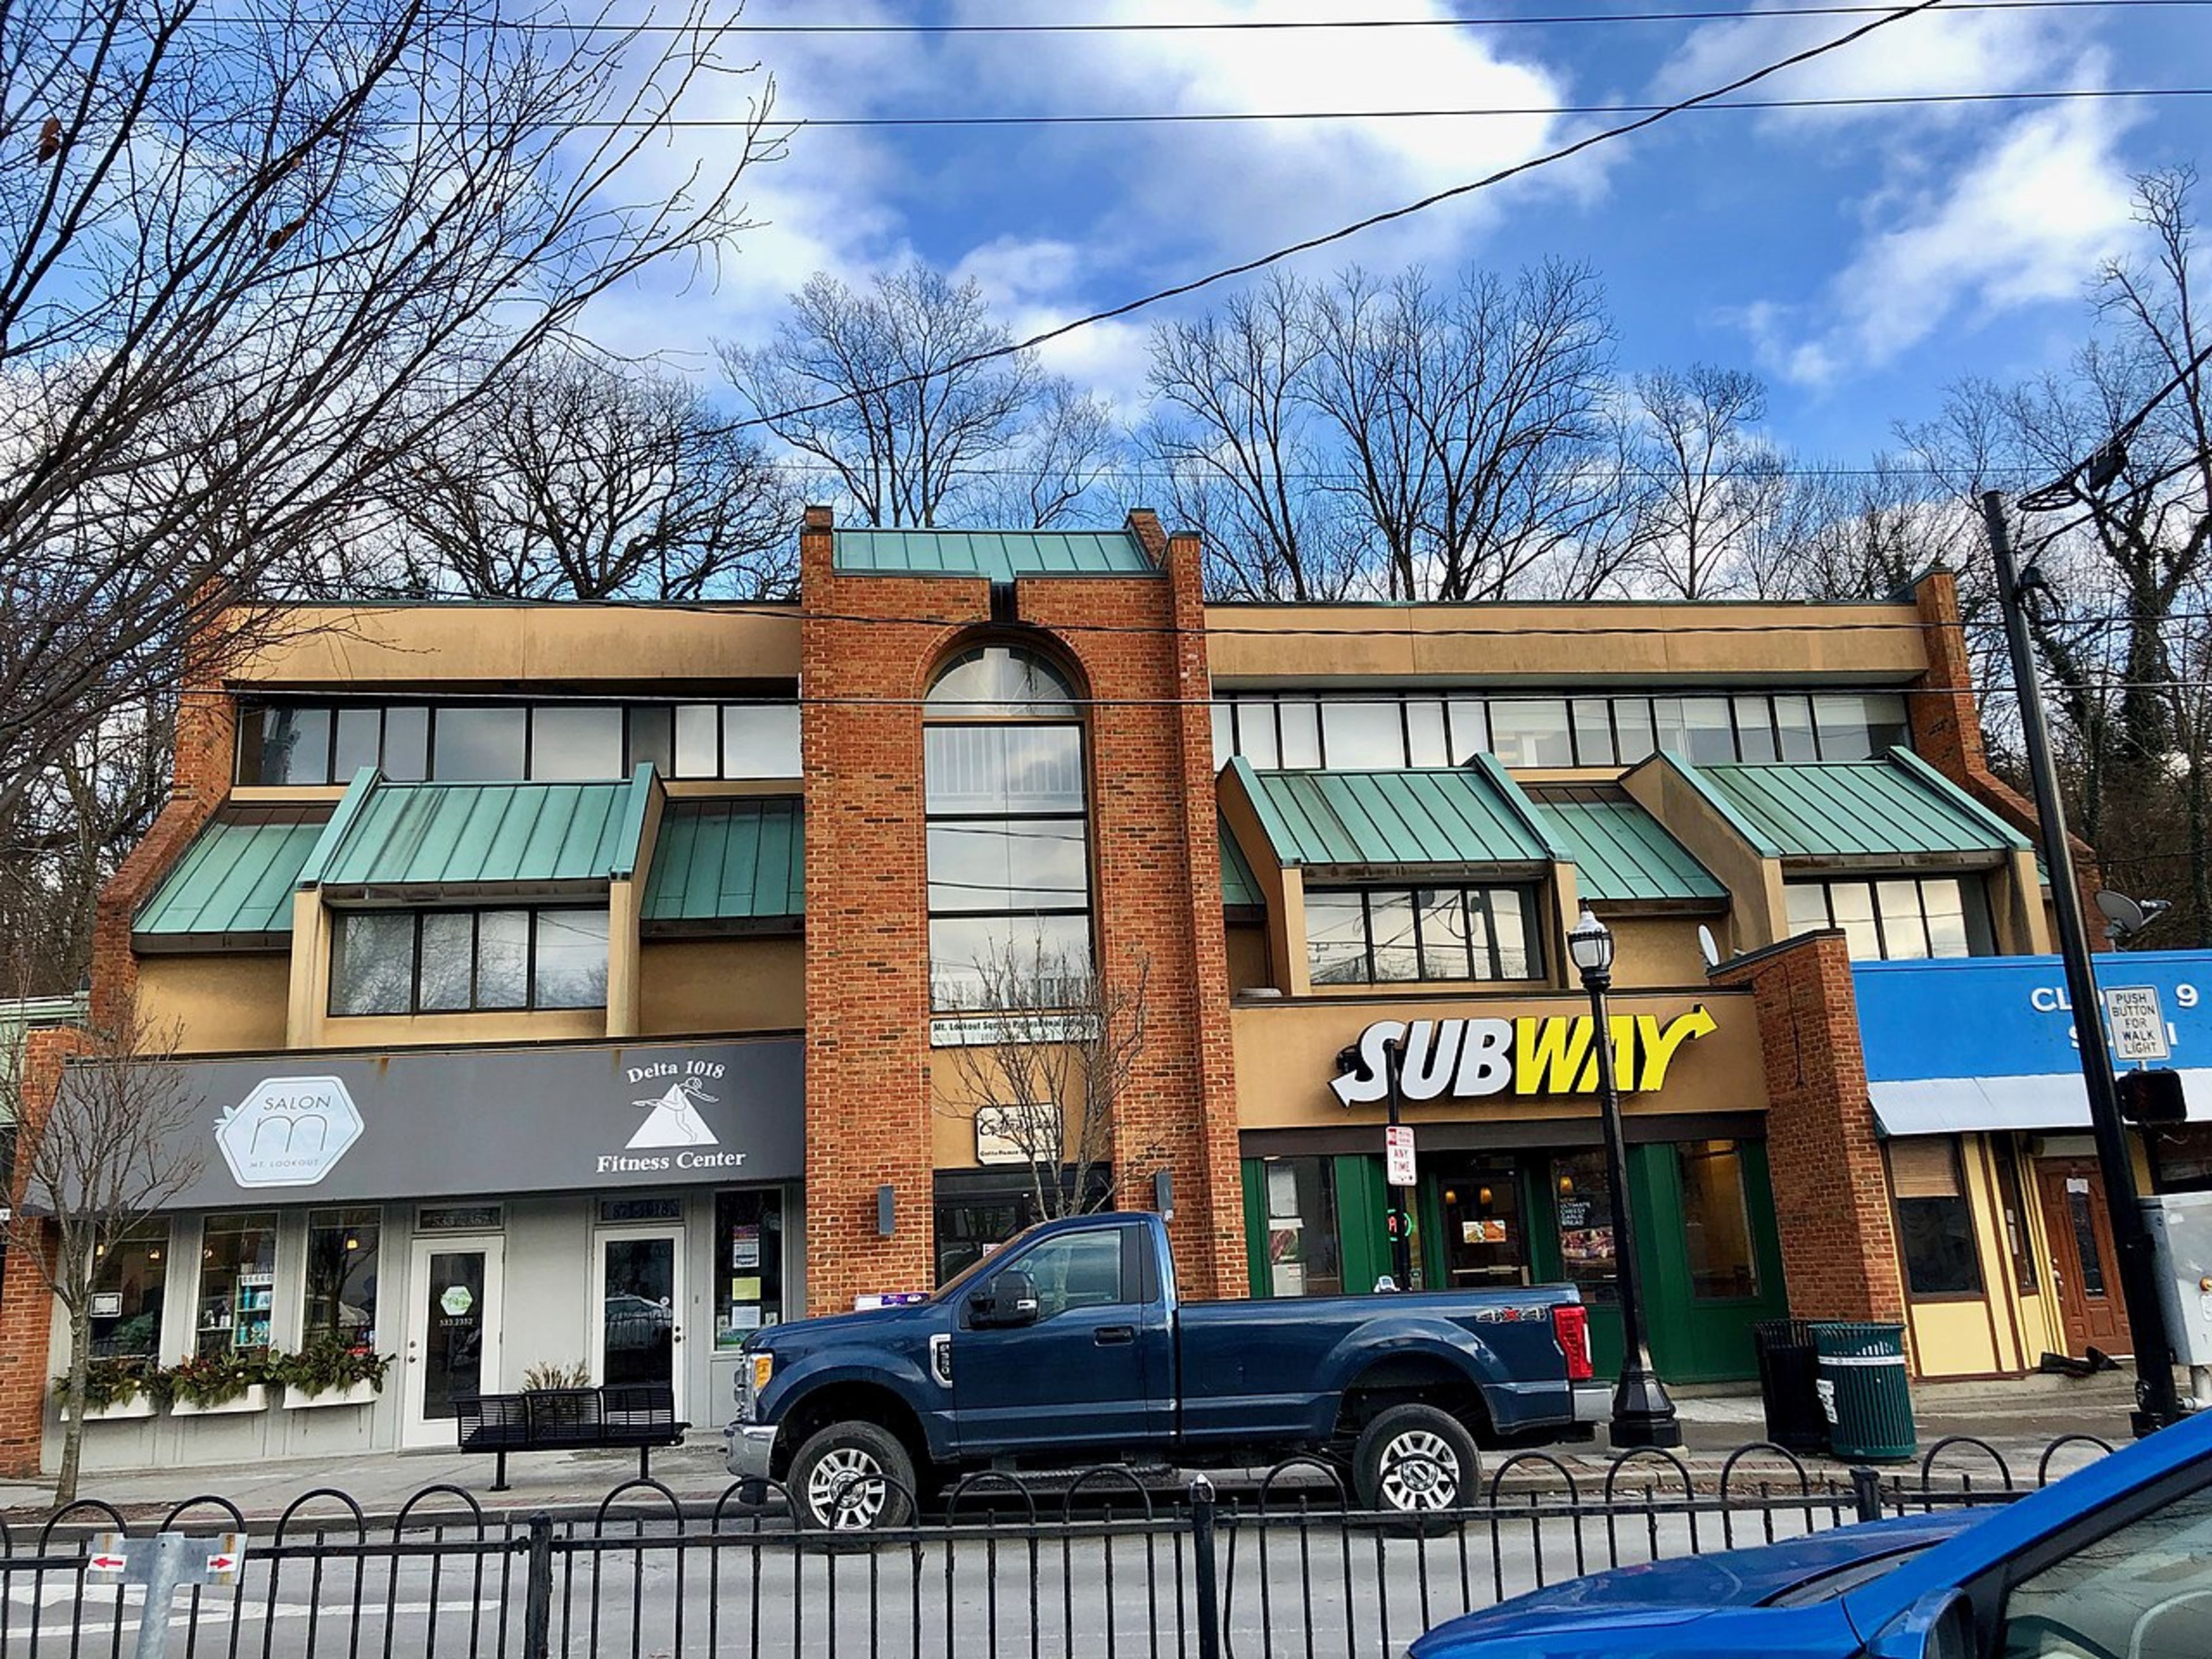
Mount Victoria Lookout
Photo by Warren LeMay from Cincinnati, OH, United States — CC0
The southwest corner at sunset frames Cook Strait and the South Island in warm golden light; with fall's early dusk, arrive by 4:30pm to catch it.
Limited accessibility — steep, uneven paths near the summit; not recommended for wheelchair users without assistance.
Lunch
Aro Cafe $$
Café · Near Zealandia Wildlife Sanctuary
A relaxed, plant-filled café near the Botanic Garden and Zealandia — good communal tables for solo travelers.
Dinner
Tandoori Heritage $$
Indian · Near Mount Victoria Lookout
A warming, flavorful dinner option near Mount Victoria — a welcome contrast after a windy lookout visit.
Kanama Kopi Kadai $$
Malaysian, fusion · Near Mount Victoria Lookout
An eclectic fusion spot near the lookout, good for solo diners wanting something distinctive.
Optional detour: Maranui CafeAfter Mount Victoria Lookout and before dinner
A beloved local café near the lookout area, good for a warming coffee after the exposed summit wind. Skip if: Skip if you're eager to get into town for dinner and drinks — it's a slight detour from the CBD.
If it rains: If weather turns, skip Mount Victoria's exposed summit and substitute a return visit to Te Papa Tongarewa or the Botanic Garden's treehouse café, both offering shelter with views largely unaffected by rain.

The day opens gently with a cable car ride into the Botanic Garden's cool, green world — native forest paths and rose gardens nearly empty at this early hour, the city's hum fading behind you. It's a soft, contemplative start before the more immersive stretch ahead.

Zealandia shifts the mood into something wilder — birdsong replacing traffic noise, boardwalks winding through a forest sanctuary that feels worlds away from the CBD. By late afternoon, the energy climbs again with a short trip up to Mount Victoria, where wind and expansive views reward the effort just as the fall light turns gold.

Wind down with a warming dinner near the lookout — Tandoori Heritage's spice or Kanama Kopi Kadai's fusion flavors both make for a satisfying, low-key evening after a day spent largely outdoors.

History & Innovation

Day 3: Creative Edge: Government Halls & Miramar's Wild Studios

A varied final day covering roughly 3 miles, blending formal civic architecture in the morning with the creative energy of Miramar Peninsula in the afternoon and Courtenay Place nightlife in the evening.

Wear
Smart-casual layers for the indoor civic stops, with a windproof jacket for any outdoor waiting or peninsula transfers.
Budget
NZD $110–150 (Weta Workshop tour, dinner, evening drinks)
9:30 AM - 11:00 AM
The Beehive (Parliament) · morning · 90 min · Civic & Government Quarter

Arrive mid-morning when tour groups are still thin — the curved, timber-clad atrium is quietly dramatic, natural light streaming through modernist windows as staff move purposefully through the halls. A free guided tour offers genuine insight into New Zealand's democracy in action, and it's an easy, low-effort start to the day.

The Beehive (Parliament)
Photo by Donaldytong — CC BY-SA 3.0
The Molesworth Street facade shows the full beehive profile best in afternoon light, though morning visits mean fewer people in your shot.
Fully wheelchair accessible with flat paths throughout.
10 min walkA short walk through the civic quarter, government buildings giving way to museum architecture.
11:30 AM - 1:30 PM
National Museum of New Zealand · midday · 120 min · Civic & Government Quarter

A second museum stop so soon after Te Papa might feel repetitive — but this one leans into deeper historical context, with carved poupou framing contemporary art and a sixth-floor viewing platform over the harbor. Keep it to two hours, focusing on the Māori galleries and skipping what you've already seen elsewhere.

National Museum of New Zealand
Photo by Ulrich Lange, Bochum, Germany — CC BY 3.0
The sixth-floor viewing platform offers a great harbor overview any time of day; the exterior waterfront facade is best around 4-5pm golden hour, though that's later than today's visit.
Wheelchair accessible with elevators to all floors and accessible galleries throughout.
20 min driveA bus or rideshare out to Miramar, the cityscape thinning into a more residential, workshop-dotted peninsula.
2:30 PM - 4:30 PM
Weta Workshop (Hobbiton nearby) · afternoon · 120 min · Miramar Peninsula & Harbour Islands

The peninsula feels like a different city — the smell of silicone and sculpting clay, dozens of craftspeople hunched in quiet concentration over pieces destined for the next big screen production. It's a genuinely fascinating, hands-on creative experience, and solo travelers often find themselves chatting with guides who clearly love what they do.
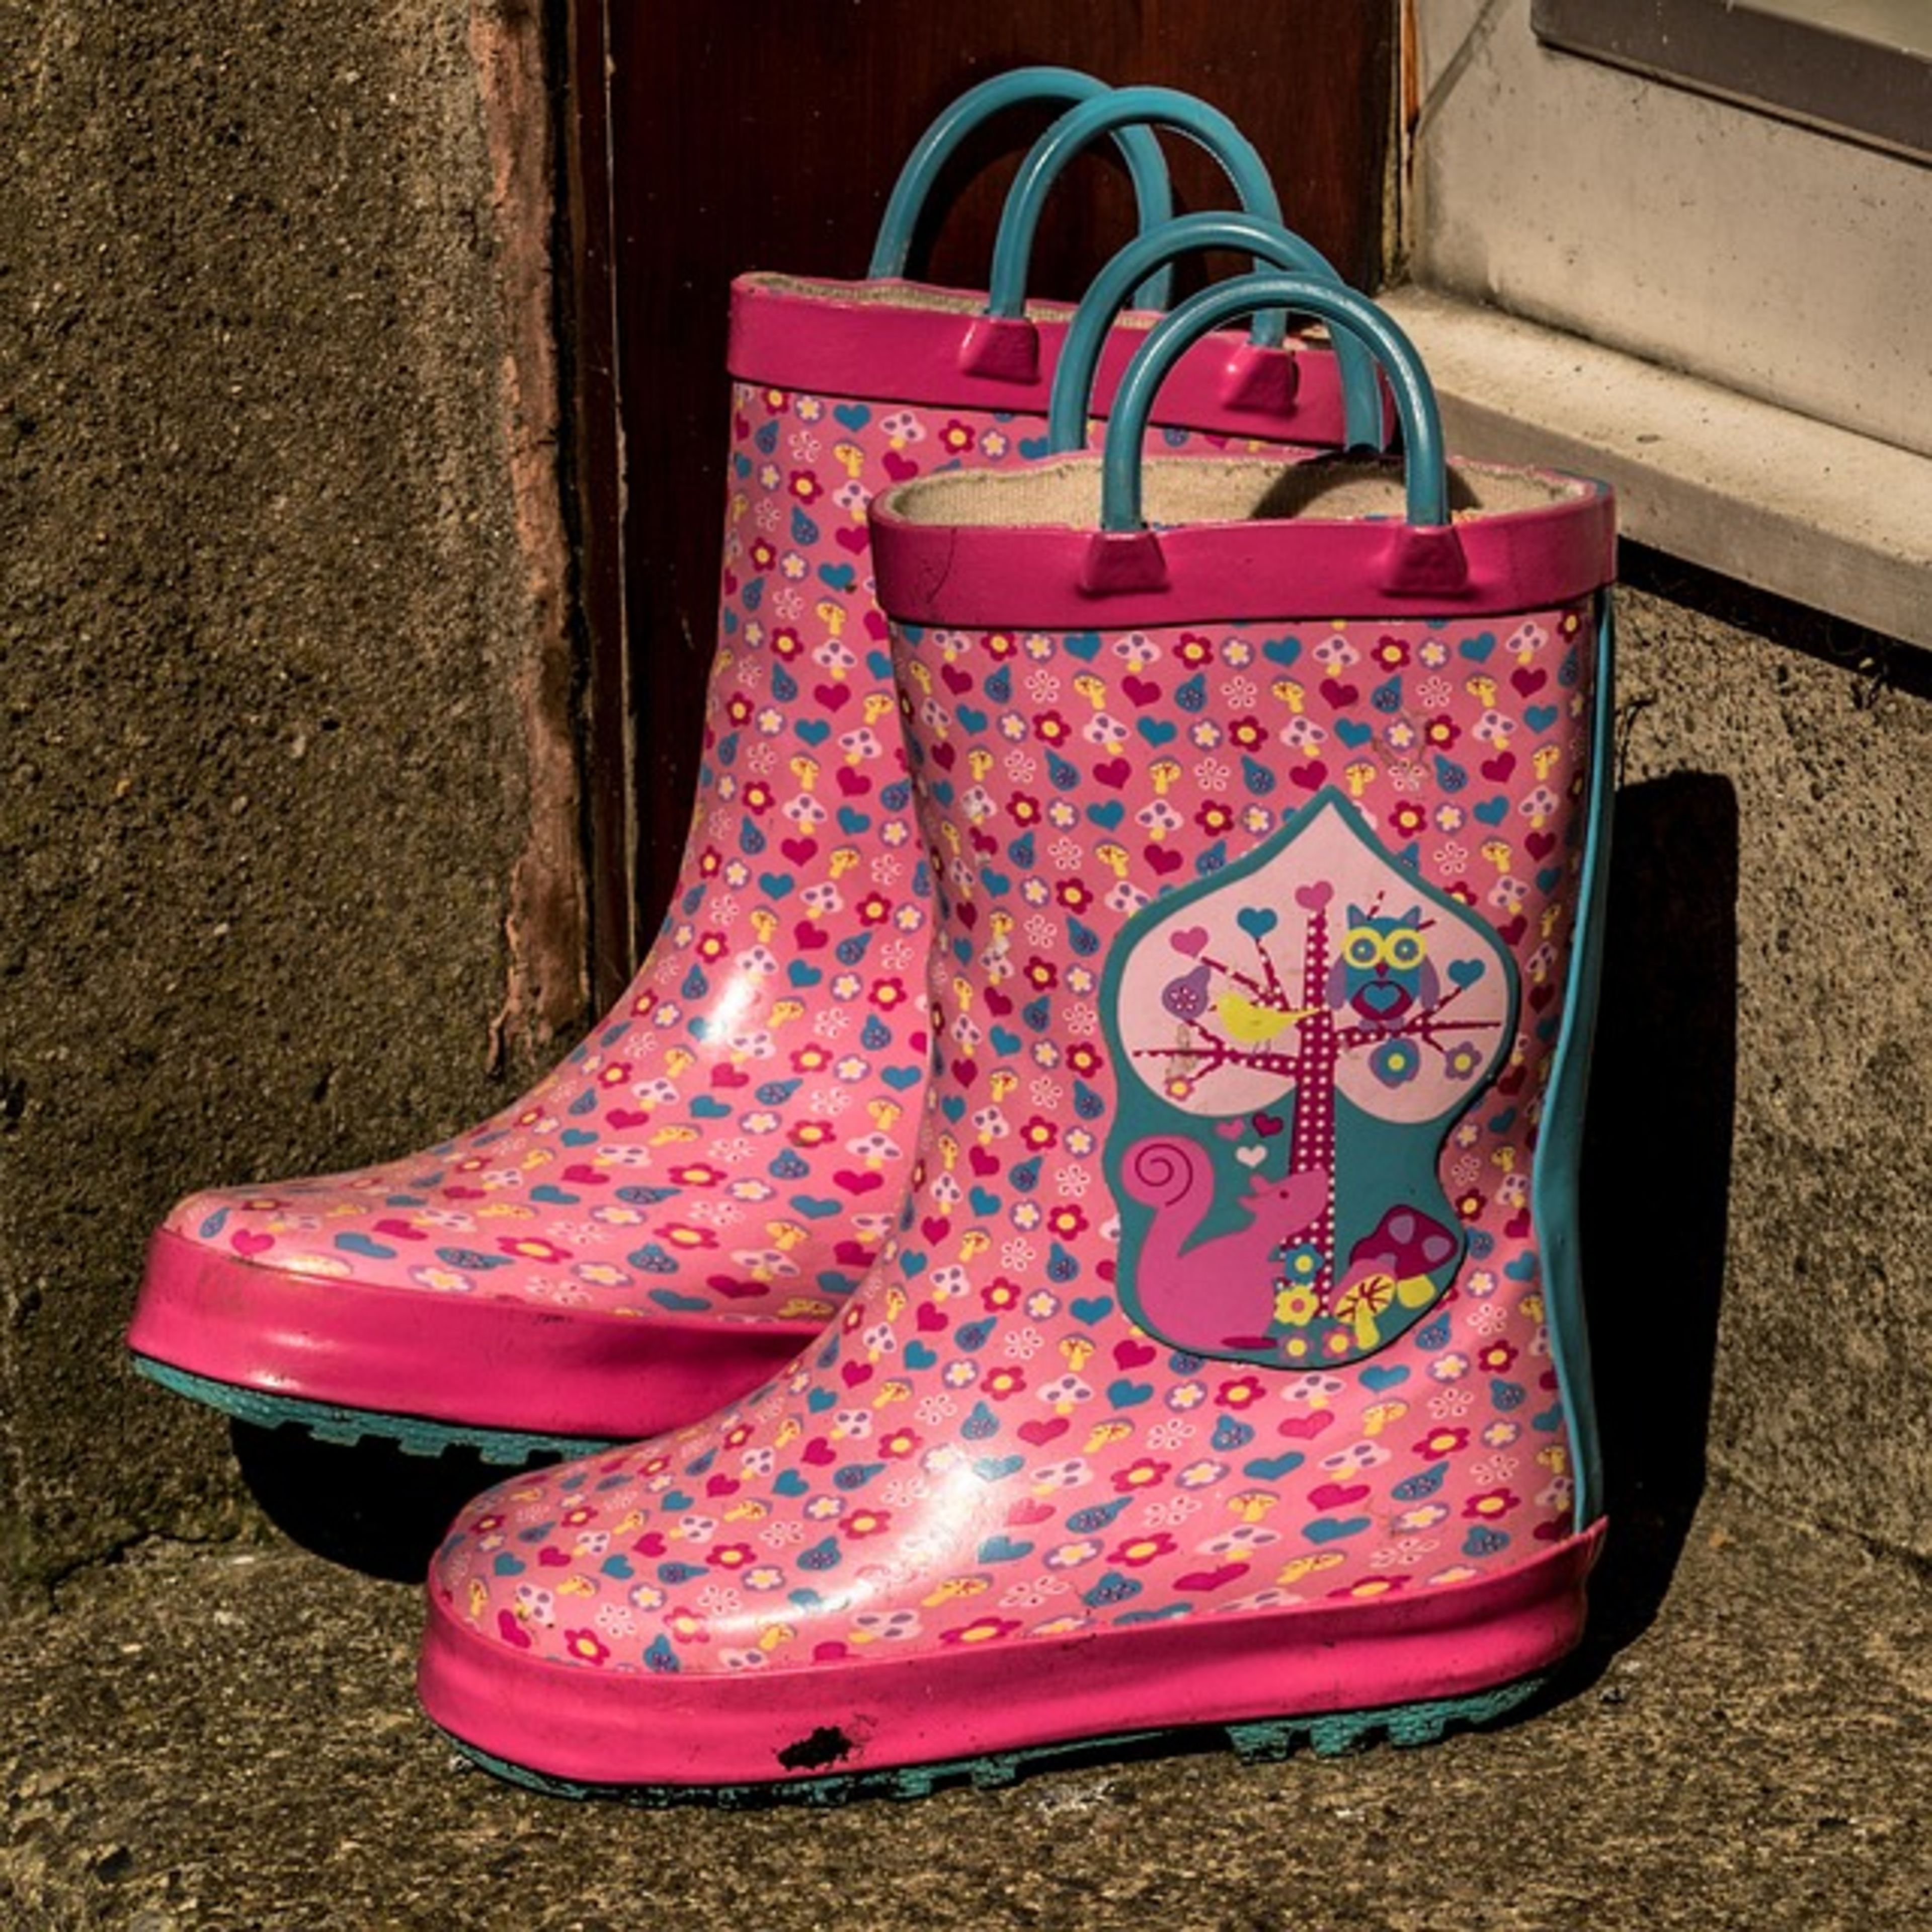
Weta Workshop (Hobbiton nearby)
Photo by abarth76
Ask permission to photograph the artisan workbenches — most staff are happy to oblige, and the in-progress pieces make for compelling shots.
Some stairs between levels; not fully wheelchair accessible.
20 min driveA rideshare back into the CBD as the peninsula's quiet gives way to the city's evening buzz.
7:00 PM - 10:00 PM
Courtenay Place (Nightlife) · evening · 180 min · Te Aro Waterfront & Cultural Core

End the trip where Wellington's nocturnal energy lives — craft beer bars, warm amber light spilling across heritage facades, easy conversation over cocktails. Bar seating here makes solo dining and drinking comfortable and unforced; arrive around 7pm for a lively but not overwhelming atmosphere before the later crowds arrive.

The Courtenay Place strip at dusk, with lit storefronts and neon signage, photographs best right around 6:30-7pm.
Wheelchair accessible with flat paths, though benches are sparse along the strip.
Lunch
Queen Sally's Diamond Deli $$
Café · Near National Museum of New Zealand
A characterful deli-café near the National Museum, good for a relaxed solo lunch between civic stops.
The Ramen Shop $$
Ramen · Near National Museum of New Zealand
Counter seating and a steaming bowl make this an easy, comforting solo lunch option.
Dinner
Bitters & Love $$$
British · Near Courtenay Place
A well-regarded cocktail bar and dining spot in Courtenay Place, great for solo diners wanting quality drinks and conversation.
Miyabi Sushi $$
Japanese, sushi · Near Courtenay Place
A reliable, casual counter-seating option if you want something lighter before an evening of drinks.
Optional detour: Matiu/Somes Island (Wildlife Reserve)As an alternative to Weta Workshop if extending the trip or swapping the afternoon
A genuinely wild harbor island escape with native bird conservation and sweeping views, ideal for nature-focused travelers. Skip if: Skip if time is tight or weather is marginal — ferry crossings can be suspended in rough conditions, and it requires a half-day commitment.
If it rains: If weather turns wet, the morning and midday stops (Beehive, National Museum) remain unaffected since both are indoors; Weta Workshop is also fully indoor, making today a solid rainy-day itinerary overall.

The day opens with quiet civic grandeur — The Beehive's curved timber atrium feels almost hushed at mid-morning, a contrast to the museum-heavy days prior. It's a gentle, low-effort start before the museum stretch ahead.

After a focused visit to the National Museum, the mood shifts entirely on the drive out to Miramar — Weta Workshop's creative, hands-on energy feels like stepping backstage into Wellington's film industry, silicone and sculpture replacing gallery hush.

The trip closes with Wellington's liveliest neighborhood — Courtenay Place's bars and restaurants humming with conversation, easy solo seating at the counter, and a last taste of the city's craft beverage culture before an early night ahead of departure.

Want to tweak this trip?

Our AI planner can customize this itinerary to your exact dates, interests, and travel style.

Customize This Itinerary
Good to Know

Restaurant details (hours, menus, availability) change frequently. Check current hours before visiting, especially in seasonal destinations.

Dietary compatibility tags are general guidance. If you have severe allergies, confirm directly with the restaurant.

Travel tips are general guidance, not professional safety advice. Check government advisories for latest information.

All prices are approximate and may vary seasonally.

We use cookies to improve your experience and analyze site usage. Essential cookies are always active. You can customize your preferences or accept all cookies. Cookie Policy