4 DaysCouples13 Stops

Wellington, New Zealand

4-Day Itinerary for Couples

Wind, Wonder & Harbour Light: 4 Days in Wellington

Wind, Wonder & Harbour Light: 4 Days in Wellington

Wellington arrives sideways — wind-whipped and glittering, a harbour city where cable cars climb into native forest and craft beer flows just steps from world-class art. This is a capital built for wandering hand in hand, unhurried, with a rain jacket in one pocket and a coffee in the other.

At a Glance

Climate & Weather
Spring in Wellington means mild days that can flip from sun to sideways rain within an hour. Pack breathable layers, a genuinely wind-resistant (not just water-resistant) jacket, and closed shoes with grip for hilltop walks.
Getting Around
The city center, waterfront, and Cuba Street are entirely walkable; the cable car and a short bus or taxi ride cover the Botanic Garden heights and Mount Victoria. Miramar Peninsula requires a 15–20 minute drive, taxi, or bus from the CBD.
Budget
Budget roughly NZD $150–220 per day per couple for meals and activities, more on the day that includes Weta Workshop or the Somes Island ferry.
Safety
Wellington is one of the safer capital cities for couples to explore on foot, day or night, with well-lit central streets. The main hazard is weather-related — strong gusts on exposed viewpoints and coastal paths, and occasional ferry suspensions to the harbour islands in rough seas.
Connectivity
Cell coverage and 4G/5G are reliable throughout central Wellington and most suburbs; free WiFi is common in cafés, museums, and the city library. Coverage can thin out slightly on Matiu/Somes Island and deep in Zealandia's valley.
Local Tips
Book the Somes Island ferry or a Weta Workshop tour in advance, as spring shoulder season still sees crowds on fine-weather weekends; aim for weekday mornings at Te Papa and Zealandia to beat school groups; and always carry a light layer for the wind, even when the forecast looks calm.

Highlights

  • Cable car ascent into the Botanic Garden's rose-scented hush
  • Te Papa's earthquake simulator and rooftop harbour views
  • Golden hour at Mount Victoria Lookout, 360 degrees of sea and city
  • Zealandia's birdsong-filled forest sanctuary at dawn
  • Cuba Street's mural-lined lanes and vintage-shop wandering
  • An upscale dinner in the Courtenay Place entertainment quarter
  • A wild-card day trip to Weta Workshop or Matiu/Somes Island

Day-by-Day Plan

Arrival, waterfront ease

Day 1: Harbour Arrival & Gentle Orientation

A soft-landing day of harbour walking and museum wandering in the Te Aro Waterfront cluster, roughly 2.5 miles on flat, easy terrain.

Wear
Layered casual wear, a windproof jacket, and comfortable walking shoes — spring winds off the harbour bite even on sunny afternoons.
Budget
NZD $130–170 per couple
10:00 AM - 12:30 PM
Te Papa Tongarewa (Museum of NZ) · morning · 150 min · Te Aro Waterfront & Cultural Core

Ease into Wellington beneath Te Papa's soaring timber beams, where Māori wisdom and geological drama share the same six floors. For a first day, focus on one or two levels rather than the whole building — the earthquake simulator and the Māori meeting house exhibits offer the most emotional payoff without overwhelming travel-weary legs. Arrive by 10am and the galleries feel unhurried before the mid-morning school groups arrive.

Te Papa Tongarewa (Museum of NZ)
Photo by Pierre André Leclercq — CC BY-SA 4.0
The curved exterior facade catches soft morning light from across the waterfront forecourt — worth a pause before heading inside.
Fully wheelchair accessible with elevators to all levels and frequent benches for rest breaks.
10 min walkA flat waterfront stroll past bobbing yachts and the shifting colors of the harbour water.
1:00 PM - 2:30 PM
Museum of Wellington City & Sea · midday · 90 min · Te Aro Waterfront & Cultural Core

A quieter, more intimate counterpoint to Te Papa's scale — this heritage building on the quay smells of aged timber and varnish, its ship models lit by diffused harbour light. Couples tend to linger longest here, drawn into the oral histories of longshoremen and sailors that play softly through the halls. It's a gentle, unhurried hour and a half that rewards slow reading over rushing.

Museum of Wellington City & Sea
Photo by Juhele_CZ
Late afternoon light through the tall windows backlights the ship models beautifully — but midday still offers moody harbour views from upper-floor windows.
Elevator access to all levels; benches placed frequently throughout.
12 min walkA gentle uphill wander through Te Aro's backstreets, where street art starts appearing on walls before you even reach Cuba Street proper.
3:00 PM - 5:00 PM
Cuba Street (Arts & Culture) · afternoon · 120 min · Te Aro Waterfront & Cultural Core

Wander Cuba Street at the pace of two people with nowhere urgent to be — weathered brick walls burst into mural color, buskers thread melodies between vintage shopfronts, and the scent of fresh espresso drifts from every second doorway. This is the city's creative pulse, best absorbed slowly with a coffee in hand rather than checked off a list. Tuesday–Wednesday mornings are quietest, but a mellow weekday afternoon still avoids the Friday–Saturday crush.

Cuba Street (Arts & Culture)
Photo by ansalmo_juvaga
The colorful mural wall near Dumpling'd glows especially well in late-afternoon light around 4pm.
Flat, pedestrian-friendly street with frequent benches and covered arcade sections.
Lunch
Sixes & Sevens $$
International, coffee, salad · Near Museum of Wellington City & Sea
A relaxed, light-filled spot for a leisurely lunch between museum stops, with good coffee and simple, well-made salads.
Dinner
Petit Bordeaux $$
Café, French-leaning · Near Cuba Street
An intimate, wine-friendly spot near Cuba Street — ideal for a low-key first-night dinner after a day of travel.
Optional detour: City Gallery WellingtonAfter Museum of Wellington City & Sea and before Cuba Street
A serene, uncrowded contemporary art stop housed in a striking 1913 civic building — a favorite with couples for its quiet, romantic hush. Skip if: Skip if jet lag is heavy; three cultural stops back-to-back on arrival day risks museum fatigue.
If it rains: All three stops today are indoor or covered — City Gallery Wellington is an excellent substitute for outdoor Cuba Street wandering if rain turns heavy.

The day begins gently inside Te Papa, where soaring timber ceilings and the low hum of the earthquake simulator ease you into Wellington's rhythm without demanding too much of travel-tired legs. Focus on just a level or two — the point today is arrival, not completism.

After lunch, the pace softens further at the Museum of Wellington City & Sea, all creaking floorboards and ship models lit by harbour light, before a wander up into Cuba Street's mural-bright chaos of vintage shops and buskers.

As the light fades, settle into Petit Bordeaux near Cuba Street for a quiet, wine-friendly dinner — nothing too ambitious on night one, just good food and the first real exhale of the trip.

Nature, elevation, romance

Day 2: Heights, Forest & Panorama

A day of upward movement through the Botanic Gardens & Heights cluster — cable car, forest sanctuary, and sunset lookout — covering roughly 3 miles with moderate uphill walking.

Wear
Sturdy walking shoes with grip, a warm layer for exposed hilltop wind, and a rain shell tucked in a daypack.
Budget
NZD $140–190 per couple
9:30 AM - 11:00 AM
Wellington Botanic Garden (Cable Car) · morning · 90 min · Botanic Gardens & Heights

The red cable car climbs with a gentle whirr into Wellington's green heart, and couples tend to find the ride itself as memorable as the gardens above. Arrive by 9:30am, before the school groups and tour buses fill the upper lawns by early afternoon, and the rose garden is yours to wander in near-solitude, the perfume of blooms mixing with cool forest air.

Wellington Botanic Garden (Cable Car)
Photo by Daderot — CC0
The rose garden facing west toward the harbor is at its best in soft morning light, before the crowds arrive.
Cable car and upper lawns are wheelchair accessible; some forest paths are uneven.
10 min driveA short taxi or rideshare down from Kelburn, winding past leafy residential streets that hint at the quiet character of this hillside neighborhood.
11:45 AM - 1:45 PM
Zealandia Wildlife Sanctuary · midday · 120 min · Botanic Gardens & Heights

Descend into a forested valley where layered birdsong replaces city noise entirely — this predator-free sanctuary is one of Wellington's quiet marvels, a living cathedral of ferns and native birds found nowhere else. Couples often find this the most serene stop of the trip; the boardwalk loop is easy underfoot, and patience near the ponds is usually rewarded with a takahē or kākā sighting.

Zealandia Wildlife Sanctuary
Photo by Daderot — CC0
Late afternoon (3–5pm) offers better light and quieter trails, though a midday visit still avoids the harshest crowds.
Main loop is flat and accessible with frequent rest spots; visitor center has full facilities.
15 min driveA short scenic drive up winding roads, the city dropping away below with each switchback.
6:00 PM - 6:45 PM
Mount Victoria Lookout · evening · 45 min · Botanic Gardens & Heights

Wind-kissed and wide open, this hilltop delivers Wellington's best 360-degree embrace of harbour, city, and distant mountains — and for couples, it's simply the most romantic vantage point in town. Time the visit for sunset in the southwest corner, where Cook Strait catches the day's last gold light; the wind here is real, so hold onto hats and each other.

Mount Victoria Lookout
Photo by Lightning_Todd
The southwest corner at sunset frames Cook Strait and the South Island in warm golden light — arrive 20 minutes before sunset to claim a good spot.
Limited flat walking options once parked; not ideal for those with mobility restrictions.
Lunch
Aro Cafe $
Café · Near Zealandia Wildlife Sanctuary
A relaxed neighborhood café near the Botanic Garden and Zealandia, good for a light lunch before or after forest wandering.
Dinner
Maranui Cafe $$
Café · Near Mount Victoria Lookout
A laid-back spot near Mount Victoria with a relaxed vibe, well suited to unwinding after sunset with a simple meal.
Optional detour: Elements CafeAfter Mount Victoria Lookout
A cozy option for a warming drink after the wind and cold of the lookout at dusk. Skip if: Skip if you've already booked a reservation elsewhere for dinner in Courtenay Place.
If it rains: If rain sets in, Zealandia remains atmospheric even in light drizzle — birds are often more active — while heavy rain calls for retreating to the Botanic Garden's treehouse café or shifting the Mount Victoria visit to Te Papa instead.

The cable car's gentle climb sets a slow, romantic tone for the day, depositing you into rose gardens and native bush where the city noise falls away almost instantly.

A short drive down into Zealandia's valley trades garden formality for wild birdsong and fern-lined trails — one of the most serene stretches of the entire trip, best explored unhurried, hand in hand.

As the light softens, climb to Mount Victoria for sunset — wind-whipped and wide-eyed, watching Cook Strait catch fire in gold before a relaxed dinner nearby winds the day down gently.

History and city energy

Day 3: Democracy, Depth & Nightlife

A day that moves from the Civic & Government Quarter into evening energy at Courtenay Place, covering about 2.5 miles of flat central walking.

Wear
Smart-casual layers for daytime touring, with a warmer jacket and comfortable shoes for an evening out.
Budget
NZD $160–220 per couple
10:00 AM - 11:30 AM
The Beehive (Parliament) · morning · 90 min · Civic & Government Quarter

Step inside New Zealand's most recognizable piece of architecture, where curved timber-clad atriums hum with the quiet purpose of working legislators. A guided tour offers genuine insight into the country's political story, and mid-morning on a weekday keeps the halls calm rather than crowded. It's a striking architectural experience even for those with only passing interest in politics.

The Beehive (Parliament)
Photo by Donaldytong — CC BY-SA 3.0
The Molesworth Street facade catches the full beehive profile beautifully in afternoon light, so consider a return pass later if photography matters.
Fully wheelchair accessible with flexible tour pacing available.
8 min walkA short flat walk through the civic precinct, government buildings giving way to museum architecture.
12:00 PM - 2:00 PM
National Museum of New Zealand · midday · 120 min · Civic & Government Quarter

A deeper dive into Aotearoa's story than Day 1 allowed — six floors of carved poupou, taonga, and the same earthquake simulator experienced from a different angle. For couples who enjoyed Te Papa earlier in the trip, this offers a chance to explore galleries missed the first time, particularly the Māori collections and sixth-floor harbour views. Arrive before noon to stay ahead of the early-afternoon crowd surge.

National Museum of New Zealand
Photo by Ulrich Lange, Bochum, Germany — CC BY 3.0
The sixth-floor viewing platform offers a golden-hour-worthy harbour view even at midday.
Elevator access to all floors with accessible galleries and rest areas throughout.
15 min walkAn easy evening stroll from the museum precinct toward the entertainment quarter, streetlights flickering on as the sky dims.
7:00 PM - 10:00 PM
Courtenay Place (Nightlife) · evening · 180 min · Te Aro Waterfront & Cultural Core

As dusk settles, Courtenay Place transforms into Wellington's most electric stretch — warm amber light spilling across heritage facades, the scent of craft beer and pan-seared fish drifting between bars. This is the splurge night: reserve ahead at an upscale spot, linger over a good wine list, and let the evening stretch toward midnight if the mood holds, though couples should feel free to wind down earlier and still catch the golden-hour buzz.

Arrive right at dusk (around 6:30–7pm) for the best light on the lit storefronts and heritage facades before full dark.
Wheelchair accessible with flat paths, though benches are sparse in the main strip.
Lunch
Queen Sally's Diamond Deli $
Café · Near National Museum of New Zealand
A casual, character-filled deli near the museum, good for a relaxed lunch between morning and afternoon touring.
Dinner
Bitters & Love $$$
British-leaning, cocktail bar · Courtenay Place
An upscale, atmospheric spot in Courtenay Place with a strong cocktail and wine list — the trip's designated splurge dinner.
Miyabi Sushi $$
Japanese, sushi · Courtenay Place
A reliable, well-loved sushi spot for a lighter option if a heavy dinner doesn't suit the evening's mood.
If it rains: Both morning and midday stops are fully indoor; if rain persists into evening, Courtenay Place's covered walkways and indoor bars make it an ideal rainy-night destination regardless.

Inside the Beehive's curved timber atrium, the hush of working democracy replaces yesterday's birdsong — a striking architectural experience that rewards a slow, guided pace.

A short walk brings a return to museum depth at the National Museum, six floors of taonga and carved poupou offering a richer counterpoint to Day 1's introduction, before the pace shifts entirely toward evening energy.

As dusk falls, Courtenay Place lights up — this is the night to splurge, settling into a reservation at Bitters & Love for cocktails, a strong wine list, and the electric hum of Wellington's best-loved entertainment strip.

Adventure, craft, farewell

Day 4: Creative Wild Edge: Miramar & the Harbour

A dedicated excursion day to the Miramar Peninsula & Harbour Islands cluster, requiring transport but rewarding with the trip's most distinctive experiences — roughly 2 miles of walking plus ferry or workshop time.

Wear
Comfortable closed shoes, a windproof layer for the ferry crossing if visiting Somes Island, and a light jacket for Weta Workshop's air-conditioned interior.
Budget
NZD $180–260 per couple, including workshop tour or ferry tickets
10:00 AM - 12:00 PM
Weta Workshop (Hobbiton nearby) · morning · 120 min · Miramar Peninsula & Harbour Islands

Step into the workshop where Middle-earth's props and prosthetics still take shape by hand — the smell of silicone and sculpting clay hangs over dozens of quietly focused craftspeople. Couples who love film, design, or craft tend to linger here well past the standard tour length; book ahead, as mid-morning slots fill quickly even in shoulder season. It's a splurge-worthy, wholly unique experience found nowhere else on the trip.

Weta Workshop (Hobbiton nearby)
Photo by Anna A
Ask about photographing the artisan workbenches — permission is usually granted, and the in-progress pieces make striking shots.
Some stairs between levels; not fully step-free.
25 min ferryA short harbour crossing by ferry from the city, Wellington's skyline shrinking behind as gulls trail the wake.
1:30 PM - 4:30 PM
Matiu/Somes Island (Wildlife Reserve) · afternoon · 180 min · Miramar Peninsula & Harbour Islands

A short ferry crossing delivers you to a conservation success story adrift in the harbour — salt wind carrying tui and bellbird calls, boots crunching over native scrub trails with 360-degree views toward the Remutaka Range. This is the trip's most peaceful farewell stop, romantic in its remoteness despite sitting minutes from the city. Morning ferries are quieter, but an early-afternoon departure still avoids the weekend crush.
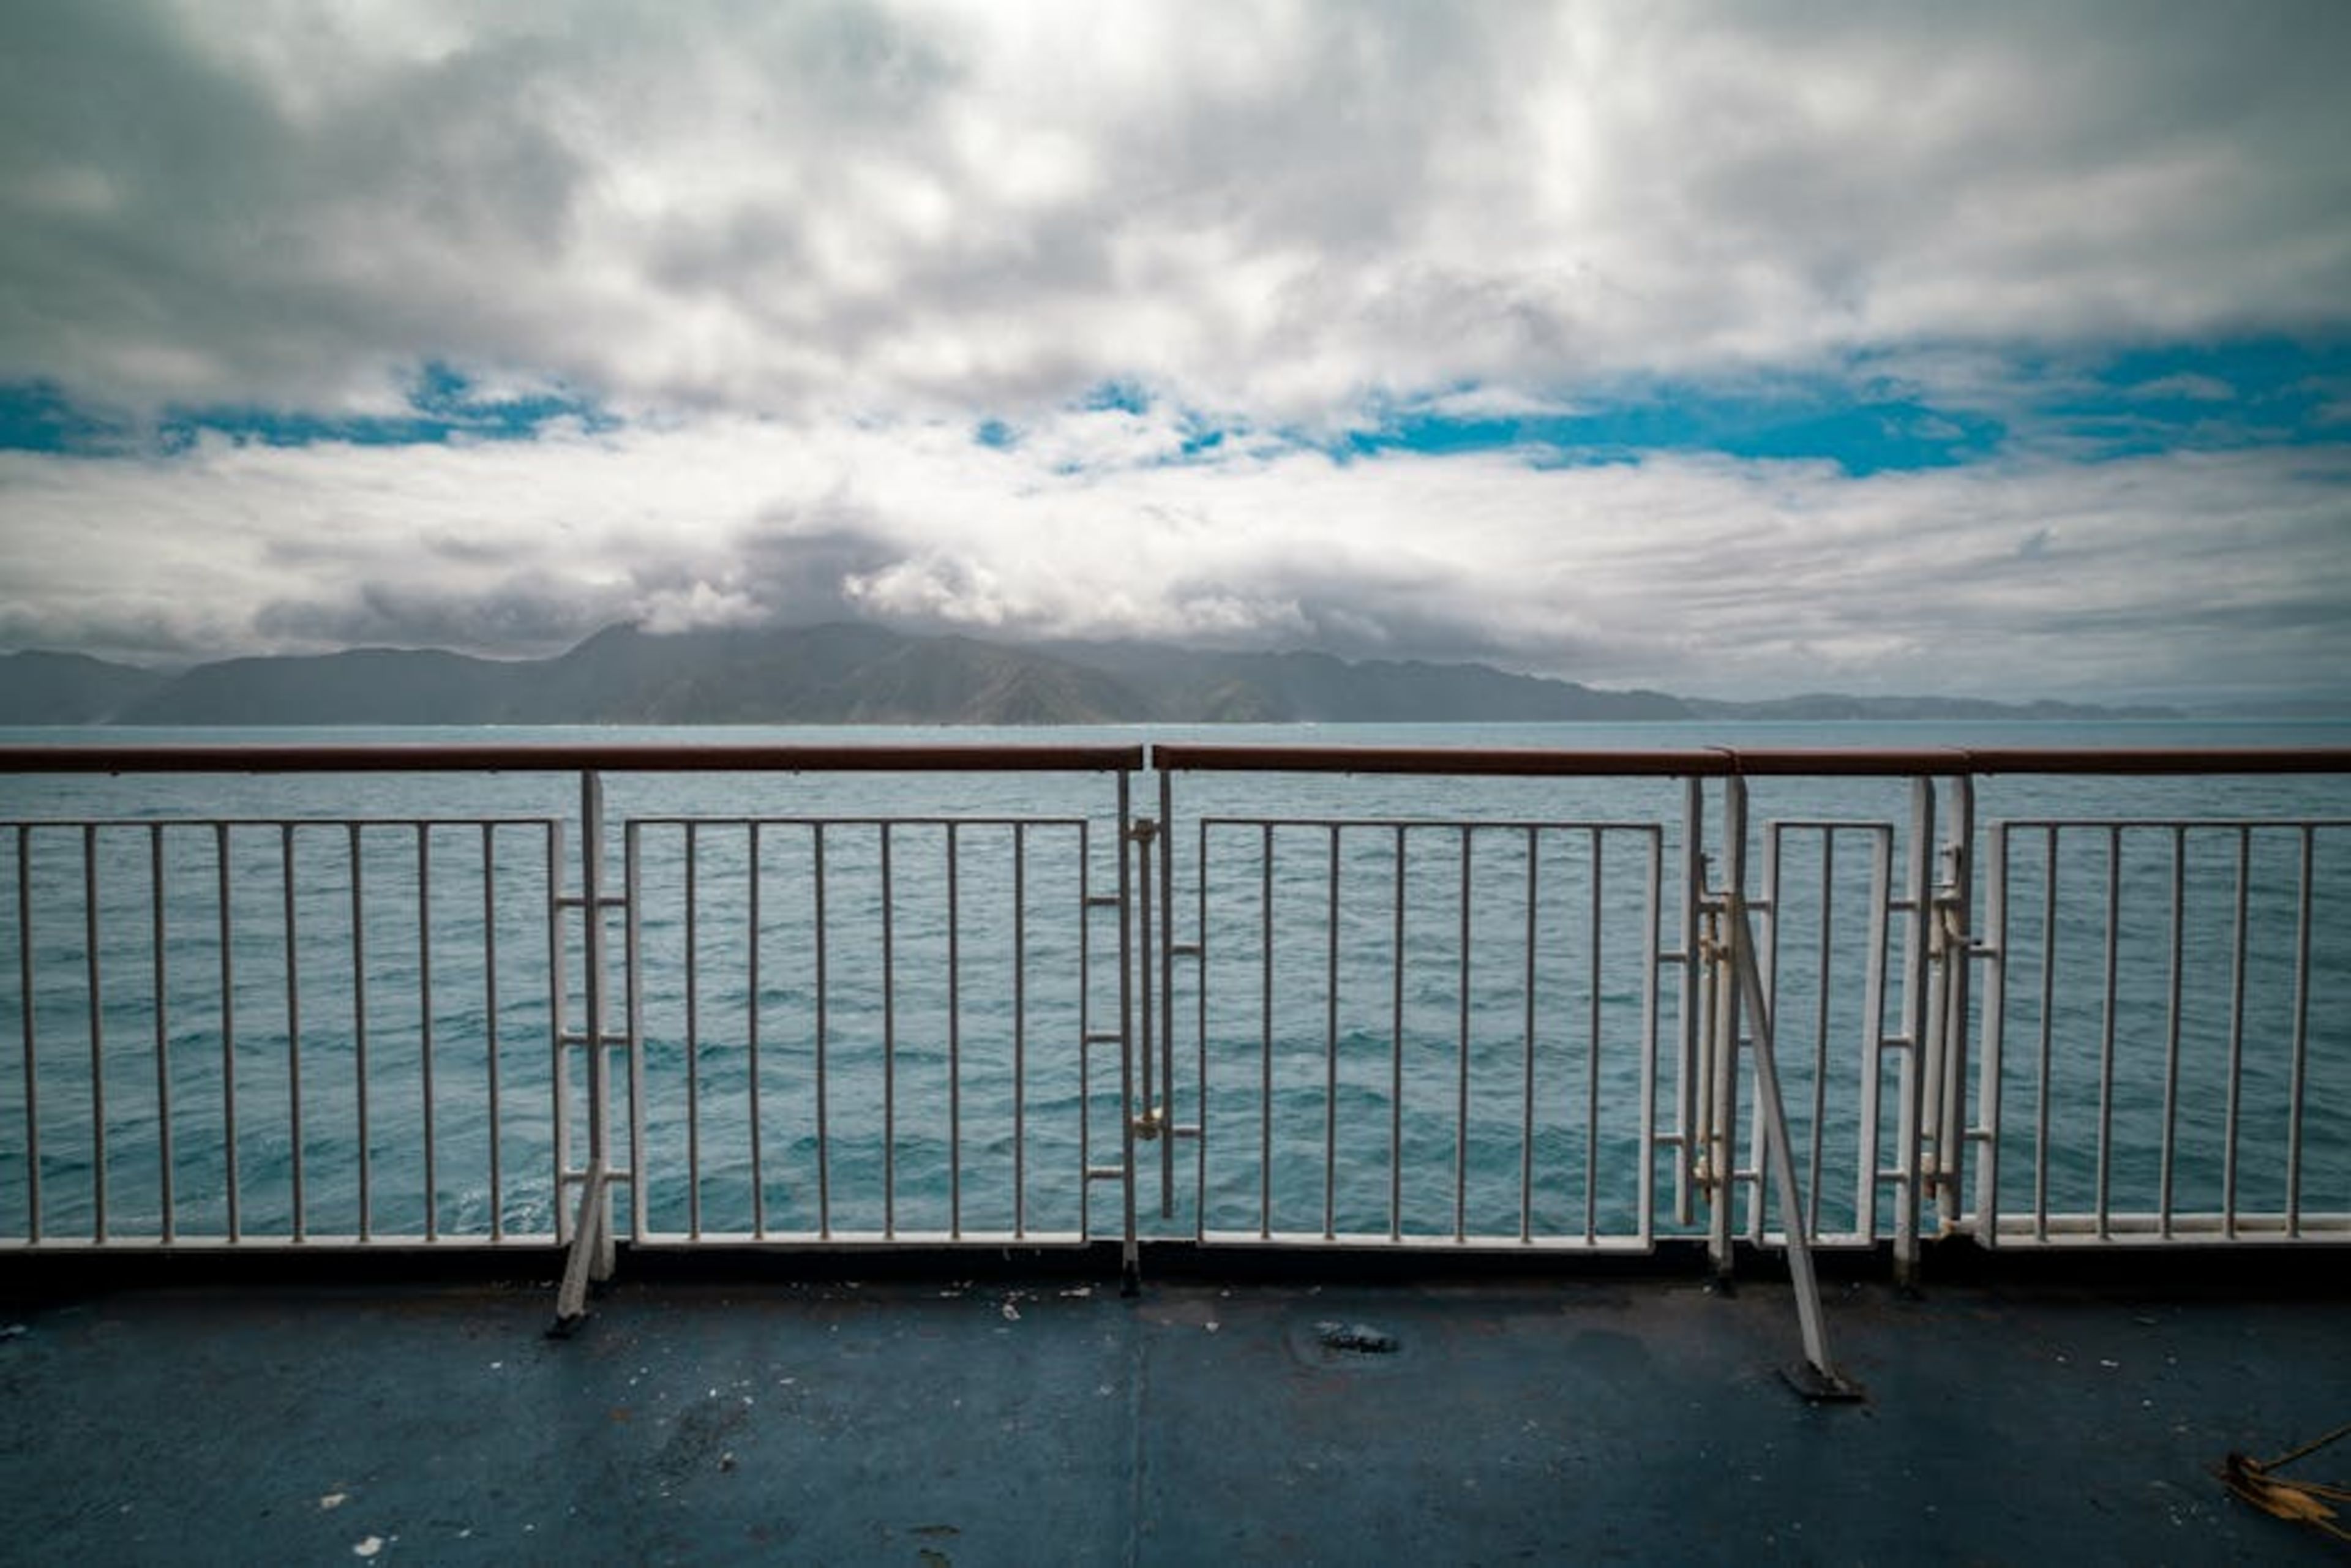
Matiu/Somes Island (Wildlife Reserve)
Photo by Donovan Kelly
The summit viewpoint overlooking the harbour and Cook Strait is best in the softer light of mid-to-late afternoon.
Only the flatter eastern areas of the island are manageable for those with mobility restrictions; most trails involve uneven terrain.
Lunch
Hive Cafe $$
Regional · Near Weta Workshop
A relaxed spot near Weta Workshop, good for refueling before the ferry crossing to Somes Island.
Optional detour: Golden PalaceAfter Weta Workshop and before the ferry to Matiu/Somes Island
A quick, casual fish and chips stop if time is tight before the ferry departure. Skip if: Skip if you'd rather sit down properly at Hive Cafe with more time to spare.
If it rains: Ferry operations to Matiu/Somes Island may be suspended in rough weather — check conditions the morning of; if suspended, substitute a return visit to Te Papa or the Botanic Gardens for a gentler, indoor-friendly farewell.

The morning belongs to craft and imagination at Weta Workshop, where Middle-earth is quite literally built by hand — a splurge experience that couples with any love of film or design will remember long after leaving Wellington.

A short ferry ride carries you away from the city entirely, onto Matiu/Somes Island's windswept trails and birdsong-filled scrub — the trip's most peaceful, most romantic farewell to the harbour that's framed every day of the visit.

With the ferry returning by late afternoon, keep the final evening unhurried — a quiet dinner back in the city, reflecting on four days of wind, water, and Wellington's particular brand of creative warmth.

Want to tweak this trip?

Our AI planner can customize this itinerary to your exact dates, interests, and travel style.

Customize This Itinerary
Good to Know

Restaurant details (hours, menus, availability) change frequently. Check current hours before visiting, especially in seasonal destinations.

Dietary compatibility tags are general guidance. If you have severe allergies, confirm directly with the restaurant.

Travel tips are general guidance, not professional safety advice. Check government advisories for latest information.

All prices are approximate and may vary seasonally.

We use cookies to improve your experience and analyze site usage. Essential cookies are always active. You can customize your preferences or accept all cookies. Cookie Policy