3 DaysSolo Traveler7 Stops

North Cascades NP (Diablo Lake, Ross Lake), Washington

3-Day Itinerary for Solo Traveler

β€œTurquoise Water, Thin Air: 3 Days Alone in the North Cascades”
Turquoise Water, Thin Air: 3 Days Alone in the North Cascades

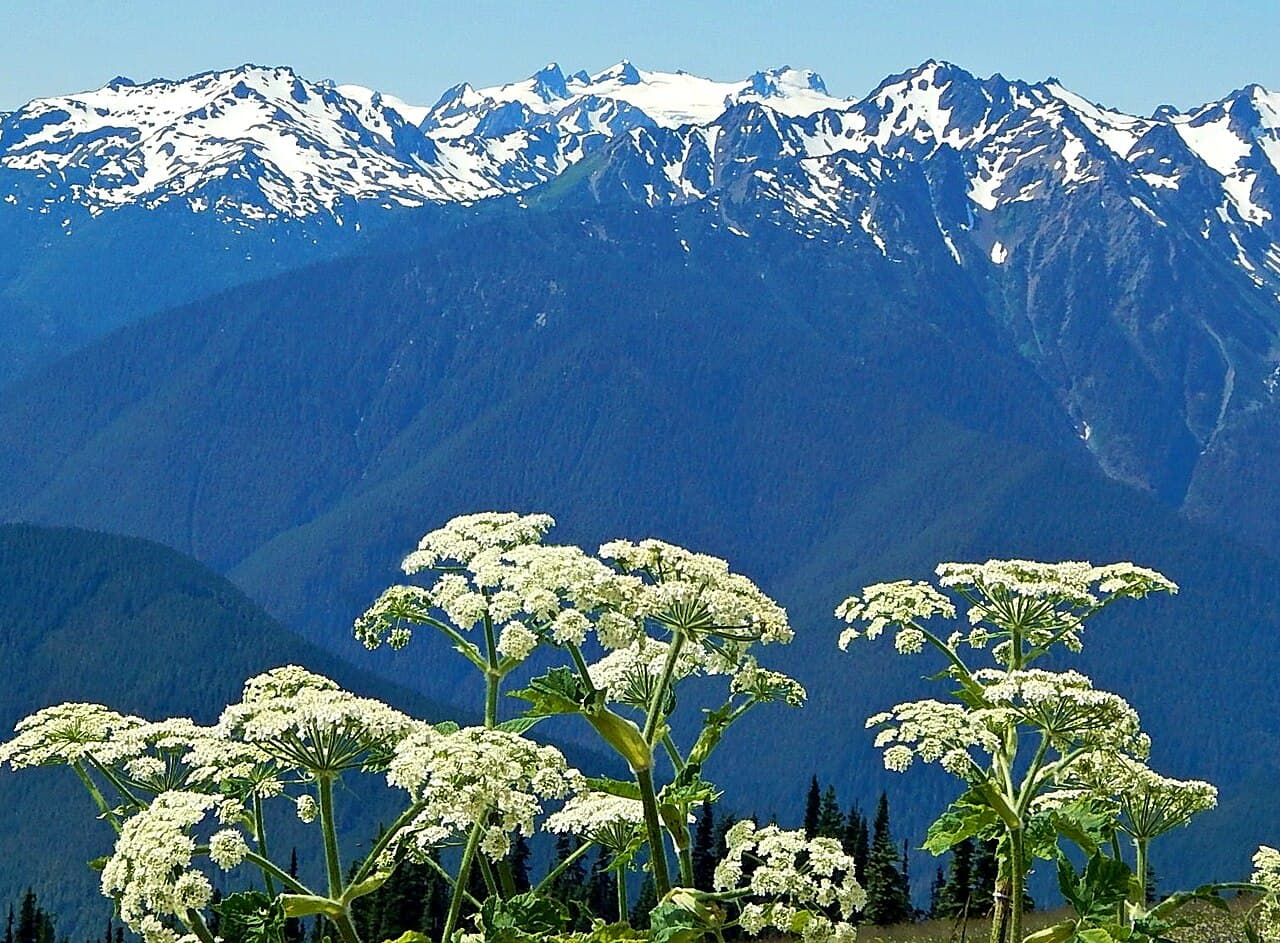
Some parks whisper; this one grins with granite teeth. Diablo Lake's impossible blue, the thin electric air of Washington Pass, and trails that climb straight into cloud β€” this is a park that asks you to earn its views, and rewards solo travelers with silence you can actually hear.

At a Glance

Climate & Weather
Summer (July–August) brings mild days around 56–58Β°F with low rainfall β€” the best hiking window of the year, but afternoon thunderstorms build fast at elevation. Pack layers: a base layer, a warm mid-layer, and a packable rain shell, even in July. Mornings at the passes can feel near-freezing before the sun clears the ridgeline.
Getting Around
A car is essential β€” there is no public transit inside the park. WA-20 (the North Cascades Highway) is the park's spine, connecting all three clusters; plan for winding mountain driving and limited pullouts. Fill your gas tank in Concrete or Marblemount, the last services before the wilderness swallows the signal.
Budget
Roughly $40–70/day for a solo traveler β€” mostly groceries and packed lunches from Concrete or Marblemount, plus modest fees for parking permits (America the Beautiful pass or NW Forest Pass depending on trailhead). There's little to spend money on inside the park itself, which is part of its charm.
Safety
Solo hikers should tell someone their planned route and expected return time β€” cell service is nonexistent in most of the park. Start early to avoid afternoon thunderstorms at exposed passes like Cascade Pass and Washington Pass, and turn back at the first sign of building clouds. Snow and ice can linger on higher trails into June; check trail conditions before setting out, and give stream crossings a wide berth during snowmelt.
Connectivity
Cell coverage is essentially nonexistent once you pass Marblemount β€” download offline maps and trail info in advance. There's no WiFi inside the park; treat this as a genuine digital disconnection, and let someone outside the park know your itinerary.
Local Tips
Stock up on food, water, and fuel in Concrete or Marblemount before entering β€” once you're past the gateway towns, services vanish entirely. Arrive at trailheads before 8am in summer; popular lots at Maple Pass and Cascade Pass fill by mid-morning on weekends. As a solo hiker, trailhead logbooks (where available) are a good habit β€” sign in and out.

Highlights

  • Sunrise at Diablo Lake Overlook before the tour buses arrive
  • Summit Cascade Pass where three mountain ranges collide
  • Loop the wildflower meadows of Maple Pass at golden hour
  • Stand at 5,477 feet on Washington Pass with Diablo Lake glimmering below
  • Quiet, benchless overlooks perfect for solo reflection
  • Glacier-fed lakes so turquoise they look digitally altered
  • Long daylight hours for unhurried, self-paced alpine hiking

Day-by-Day Plan

Arrival & Orientation

Day 1: First Light on Turquoise Water

A gentle introduction to the park's signature color and scale via two easy, low-energy overlooks β€” about 1 mile of walking total.

Wear
Layered clothing (fleece or light puffer plus a light rain shell), sturdy walking shoes, sunglasses for glare off the water.
Budget
$35–50 (packed meals, gas, parking pass)
8:00 AM - 8:45 AM
Diablo Lake Overlook Β· morning Β· 45 min Β· Diablo Lake Corridor

Arrive by 8am and the overlook is nearly yours alone β€” the turquoise water catches the low sun and seems to glow from within, fed by glacial sediment that gives it that otherworldly hue. The air still carries the night's chill, and the only sounds are wind, the distant hum of the dam, and the occasional raven overhead. Solo travelers will appreciate the unhurried stillness before the 9am rush.

Diablo Lake Overlook
National Park Service / wikimedia (Public domain)
Early morning light is softer here and sometimes catches mist rising off the lake β€” shoot from the main platform or the left-side vantage for Mount Baker in profile.
Fully wheelchair accessible with a flat path and frequent benches β€” an easy first stop for a low-key arrival day.
15 min drive β€” A short, winding stretch of WA-20 with glimpses of the lake flashing between trees.
9:15 AM - 9:45 AM
Ross Lake Overlook Β· midday Β· 30 min Β· Diablo Lake Corridor

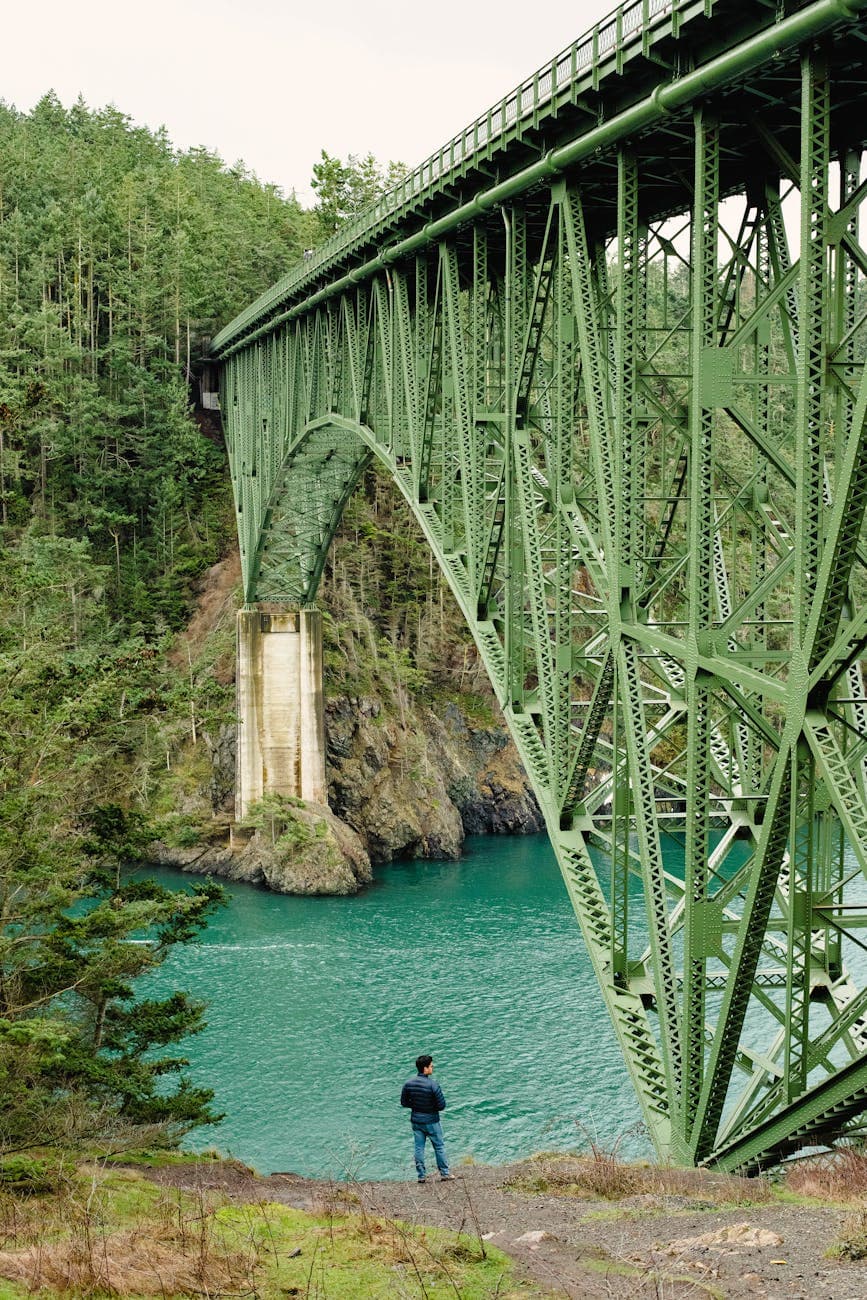
A short pullover reveals another impossibly blue lake framed by conifers β€” quieter and less visited than Diablo, making it a good spot for a solo traveler to simply stand at the guardrail and let the scale of the place sink in. The cold metal rail under your hands is a nice contrast to the warming late-morning air.

Ross Lake Overlook
Photo by ArtTower on Pixabay
Frame the turquoise water through a foreground conifer branch from the left side of the pullout for depth.
Wheelchair accessible with a flat path, though benches are sparse β€” plan to stand or bring a portable seat.
If it rains: Both overlooks remain accessible in light rain, though the lake loses its vivid turquoise glow under cloud cover β€” if rain is heavy, consider waiting it out in the car and returning when clouds break, since visibility (not access) is the real issue today.

The day begins gently, with an early arrival at Diablo Lake Overlook where the turquoise water seems to hum with its own light. Solo travelers get the rare gift of near-total silence here before the crowds roll in around 9am β€” just wind, ravens, and the far-off murmur of the dam.

A short, easy drive delivers you to Ross Lake Overlook, a quieter cousin to Diablo with fewer visitors and a similarly startling color palette. This is a light day by design β€” no strenuous hiking, just orientation to the park's scale and its signature blue-green water.

With no restaurants inside the park, plan to eat from supplies picked up in Concrete or Marblemount before you arrived. Settle in early tonight; tomorrow's hike demands an early start and fresh legs.

High-Alpine Hiking

Day 2: Into the Alpine: Maple Pass Loop

A demanding but rewarding 7.4-mile loop through wildflower meadows and turquoise lake views β€” full-day, intense energy, roughly 6 miles of total walking.

Wear
Moisture-wicking base layer, warm mid-layer for the summit, waterproof shell, broken-in hiking boots, sun hat, and layers you can shed as the day warms.
Budget
$45–60 (trail snacks, packed lunch, parking permit)
40 min drive β€” A scenic, curving drive along WA-20 with the peaks growing more dramatic with every mile.
6:30 AM - 10:30 AM
Maple Pass Loop Β· morning Β· 240 min Β· Cascade Pass & Skagit Valley

Start at first light β€” by 8am this trailhead lot fills fast on summer weekends, and starting early means cooler air for the steep switchbacks and a real shot at solitude on the ridgeline. The trail climbs through wildflower meadows into thinning alpine air, marmots whistling from the talus, until Heather Pass opens onto a 360-degree sweep of granite peaks. This is exactly the kind of solo-friendly challenge that rewards self-reliance β€” pack extra water, tell someone your route, and enjoy having the switchbacks mostly to yourself before mid-morning.

Maple Pass Loop
Oren F. Morton / wikimedia (Public domain)
Heather Pass summit facing north offers the classic North Cascades panorama β€” arrive before 9am for crisp light and thinner crowds at the viewpoint.
Not wheelchair accessible; steep, unpaved switchbacks with significant elevation gain β€” not recommended for those with mobility limitations.
35 min drive β€” A relaxed drive back down in elevation, windows cracked to catch the smell of damp cedar as the road nears the river.
1:30 PM - 3:00 PM
Skykomish River Trail Β· afternoon Β· 90 min Β· Cascade Pass & Skagit Valley

After the intensity of Maple Pass, this moss-draped riverside walk is a deliberate pace-shift β€” moderate rather than intense, flat-ish rather than steep, with the percussion of tumbling water replacing the wind of the ridgeline. Old-growth cedars filter the afternoon light into something almost underwater-green, and the trail is quieter than the morning's popular loop, ideal for a solo traveler easing down from an adrenaline high.

The main waterfall overlook around 0.8 miles in is front-lit in the afternoon β€” good light for the tumbling water and mossy rock.
Not accessible for wheelchairs; uneven, unpaved terrain throughout.
Optional detour: Cascade Pass β€” Could replace Skykomish River Trail as an afternoon add-on for very strong hikers
A second high-alpine summit in one day rewards ambitious solo hikers with 360-degree views where three mountain ranges converge. Skip if: Stacking two intense alpine hikes in one day risks overexertion and afternoon thunderstorm exposure β€” better saved for its own dedicated day.
If it rains: If storms build, descend from Maple Pass immediately β€” afternoon thunderstorms are common and the ridge offers no shelter. Postpone or shorten the loop to lower sections, and consider the Skykomish River Trail (hikeable in light rain with waterproof gear) or the North Cascades Visitor Center as an indoor alternative.

An early alarm pays off here: the Maple Pass trailhead lot is manageable before 7am and packed by mid-morning. The climb is steep and sustained, but the payoff β€” wildflower meadows, marmot whistles, and a ridge-top view stretching across the entire range β€” is one of the best solo-hiking experiences in the park.

The pace deliberately softens after lunch. The Skykomish River Trail trades granite exposure for mossy shade and the steady rhythm of falling water, a welcome contrast that lets tired legs recover while still delivering scenery.

Pack out with supplies from Concrete or Marblemount, since dining infrastructure inside the park itself remains minimal. A quiet dinner and an early night are well earned after nearly 6 miles of alpine and riverside trail.

Mountain Pass & Departure

Day 3: Standing Where Ranges Collide

A moderate-effort day combining a scenic high-pass viewpoint with a final immersive hike, roughly 4-5 miles total and a mix of driving and walking.

Wear
Warm layers for the pass (wind cuts hard at 5,477 feet), sun protection, sturdy shoes for uneven overlook terrain.
Budget
$40–55 (packed meals, gas, permits)
50 min drive β€” A dramatic climb in elevation along WA-20's switchbacks, with the temperature noticeably dropping as the road gains altitude.
7:30 AM - 8:15 AM
Washington Pass Β· morning Β· 45 min Β· Washington Pass Scenic Corridor

Arrive by 7:30am and you'll likely have this dramatic overlook to yourself β€” by midday it's a steady stream of cars and cameras. Standing at 5,477 feet, the wind funnels through the pass with a low roar, and 3,000 feet below, a sliver of turquoise water glimmers against granite walls the color of weathered bone. It's a solo traveler's kind of view: vast, humbling, and better absorbed in silence than shared conversation.
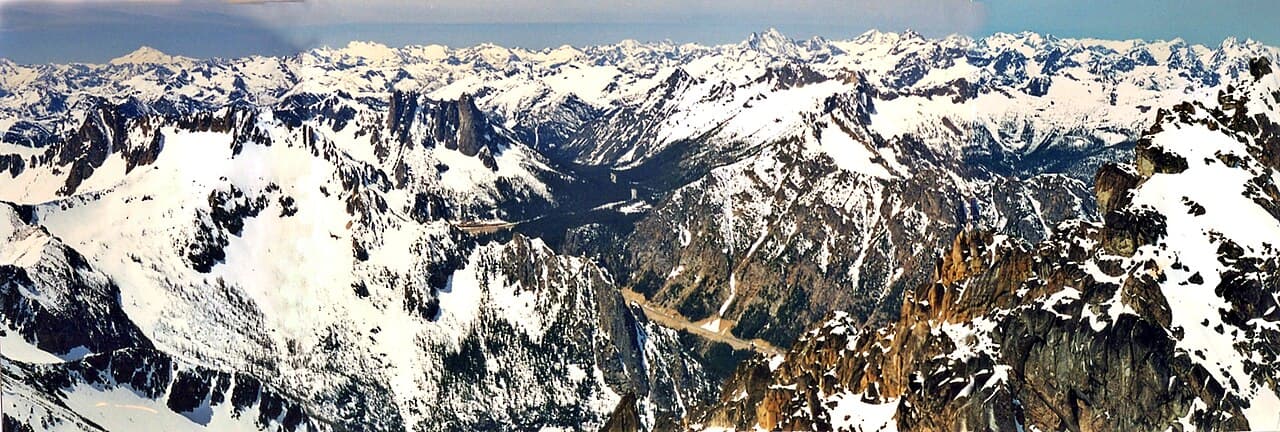
Washington Pass
Ron Clausen / wikimedia (CC BY-SA 4.0)
The main overlook's stone railings face east β€” arrive at first light for alpenglow over Diablo Lake far below.
Not recommended for those with mobility limitations; narrow parking, steep terrain, and exposed edges.
45 min drive β€” Backtracking down from the pass and along the valley road, peaks receding in the rearview mirror.
9:30 AM - 1:30 PM
Cascade Pass Β· midday Β· 240 min Β· Cascade Pass & Skagit Valley

The final big push of the trip: a steady climb to a 5,400-foot pass where three mountain ranges visibly converge. The thin air sharpens every sense β€” wind cutting across the exposed ridge, the distant glimmer of Lake Chelan to the east, Sahale's ridge rising gently to the north. Solo hikers should aim to summit and begin descending well before early afternoon, since no shelter exists up top if storms roll in. It's a fitting, quiet finale to a trip built on self-reliance and big views.

Cascade Pass
Jeffhollett / wikimedia (CC BY-SA 4.0)
The pass summit overlooking the bowl toward Stehekin is best photographed in late morning light before clouds typically build.
Not accessible; steep elevation gain and significant trail exposure with no facilities at the summit.
Optional detour: Ross Lake Overlook β€” Could fit as a quick stop on the drive between Washington Pass and Cascade Pass trailhead
A brief, easy revisit to a turquoise-lake view offers a restful bookend if you have extra time before the Cascade Pass climb. Skip if: Skip if you visited on Day 1 and want to conserve energy and daylight for the demanding Cascade Pass hike ahead.
If it rains: If weather deteriorates at Washington Pass, descend immediately to lower elevation β€” visibility often vanishes in cloud and the overlook offers no shelter; the North Cascades Visitor Center in Marblemount is a reasonable indoor alternative. If storms threaten during the Cascade Pass hike, turn back well before the summit rather than risk the exposed ridgeline.

The trip's final morning starts at elevation, with Washington Pass delivering perhaps the single most dramatic view of the whole journey β€” thin air, roaring wind, and a dizzying drop toward the lake far below, best enjoyed solo and unhurried in the early light.

From there, the day shifts into its most demanding stretch: the long climb to Cascade Pass, where three mountain ranges seem to lean in from every direction. It's intense, but the pacing allows a leisurely descent and plenty of time to soak in the 360-degree views before clouds typically build.

With the hike complete, the drive back toward Concrete or Marblemount marks the quiet close of the trip β€” grab final supplies or a simple meal in the gateway towns, and let the thin-air exhaustion settle into the kind of tired that alpine trips are made for.

Want to tweak this trip?

Our AI planner can customize this itinerary to your exact dates, interests, and travel style.

Customize This Itinerary
Good to Know

Restaurant and food service details inside and near the park change frequently and services are limited β€” check current availability before relying on any location for meals.

Dietary compatibility tags are general guidance. If you have severe allergies, confirm directly with any food vendor before consuming.

Travel tips are general guidance, not professional safety advice. Check current NPS conditions, weather, and trail closures before heading into the backcountry.

All prices are approximate and may vary seasonally; permit and parking fees are subject to change.

We use cookies to improve your experience and analyze site usage. Essential cookies are always active. You can customize your preferences or accept all cookies. Cookie Policy