2 DaysActive Retirees3 Stops

Nine Mile Canyon (near Price), Utah

2-Day Itinerary for Active Retirees

Stone Stories at Dawn: Two Slow Days in Nine Mile Canyon

Stone Stories at Dawn: Two Slow Days in Nine Mile Canyon

Forty miles of red-rock silence unfold slowly here, where sandstone walls hold handprints and hunting scenes older than memory. This is a place for unhurried mornings, quiet observation, and letting the canyon reveal itself panel by panel, one bench-side pause at a time.

At a Glance

Climate & Weather
Summer days run hot and dry with long daylight hours—expect highs that make midday canyon exploration uncomfortable. Pack a wide-brimmed hat, lightweight long sleeves for sun protection, sturdy walking shoes with good tread, sunscreen, and at least a gallon of water per person for the day. Mornings and early evenings are notably cooler and far more pleasant for walking.
Getting Around
A personal or rental vehicle is essential—there is no public transit into or through the canyon. High-clearance is recommended though not always required in dry summer conditions; the unpaved sections are slow going, so budget extra time and drive at a relaxed pace, pulling over often for views.
Budget
Plan roughly $60–$90 per person per day for meals and incidentals in Price, plus fuel costs for the canyon drive; there are no entrance fees or paid attractions within the canyon itself, so this is a low-spend, high-reward day.
Safety
The canyon road is remote with no services and spotty-to-nonexistent cell coverage—fuel up and pack supplies in Price before heading in. Flash flood risk rises with summer thunderstorms, so check forecasts and avoid driving or hiking if storms threaten. Stay on marked paths near rock art panels; the ground is uneven and there are no barriers or benches at most sites, so a slow, steady pace and trekking poles are worth considering.
Connectivity
Cell service is unreliable to nonexistent once inside the canyon. Download offline maps and let someone know your general plans before you head out. Price offers standard connectivity for calls, texts, and reservations.
Local Tips
Start each canyon day as early as reasonably possible—by 9am the heat builds quickly and the light flattens for photography. Fill your tank and grab any supplies in Price the evening before, since nothing is available once you're in the canyon. Locals note that panels facing east or south are best viewed in morning light, so plan your route direction accordingly.

Highlights

  • Fremont and Ute petroglyphs etched into sunlit canyon walls
  • Early-morning drives before the summer heat settles in
  • The hushed grandeur of Cottonwood Canyon's narrow passages
  • Fort Bottom Ruins' quiet perch above the distant Green River
  • Golden-hour light on the Rochester Panel's carved figures
  • Wide-open silence broken only by wind and the occasional raven

Day-by-Day Plan

Arrival and ancient art

Day 1: First Light on the Rock Art Corridor

A gentle introduction to the canyon's rock art corridor with two unhurried stops and roughly 1.5 miles of easy walking on uneven terrain.

Wear
Lightweight long sleeves, wide-brimmed hat, sturdy closed-toe walking shoes, sunscreen, and a daypack with at least 2 liters of water per person.
Budget
$70–$100 per person including lunch, dinner, and fuel
7:30 AM - 9:30 AM
Nine Mile Canyon (rock art panels) · morning · 120 min · Nine Mile Canyon Rock Art Corridor

Arrive while the air is still cool and the canyon nearly silent—by 7:30am you'll likely have these ancient walls entirely to yourself. Weathered red and tan stone rises around you, dotted with faint humanoid figures and spiral motifs that Fremont and Ute artisans left centuries ago. Take this slowly: the terrain is uneven, so lean on a walking stick and pause often on the natural rock ledges that serve as informal resting spots.

Nine Mile Canyon (rock art panels)
Euler, Robert C Green, Dee F / wikimedia (Public domain)
The canyon mouth around mile 8–10 backlights beautifully at sunrise, silhouetting the walls—arrive before 8am for this effect.
Not wheelchair accessible; uneven natural terrain with no formal benches, though flat rest areas exist near the canyon mouth.
25 min driveA slow, scenic drive along the canyon road, windows down, red rock rushing past in warm morning light.
10:15 AM - 11:15 AM
Rochester Panel · midday · 60 min · Nine Mile Canyon Rock Art Corridor

A short, low-energy stop that rewards patience—this intimate panel of anthropomorphic figures sits in red sandstone that catches soft midday light. The silence here is almost complete, broken only by wind moving through the canyon, making it a fitting quieter counterpoint to the morning's larger corridor. Bring binoculars if you have them; some finer details sit just beyond arm's reach.

Rochester Panel
Photo by Alex Moliski on Pexels
Late-afternoon light is technically ideal, but a return visit isn't necessary—midday still reveals strong detail on the carved figures with a polarizing filter.
Accessibility-focused visitors can manage 15–25 minutes near the viewing area; full exploration requires more mobility.
Optional detour: Pregnant Sheep PanelBetween Nine Mile Canyon (rock art panels) and Rochester Panel
A rarely crowded, quietly moving panel depicting pregnancy—worth the stop for those wanting deeper cultural immersion. Skip if: Skip if energy is already dipping after the first stop, since the terrain here is similarly uneven and offers a comparable experience to the main corridor.
If it rains: If storms roll in, postpone canyon driving entirely and instead spend the day exploring Price's dinosaur museums and local galleries, which offer cultural depth without weather risk.

The day begins early and gently, with the canyon still holding onto night's cool air. Nine Mile Canyon's main rock art corridor greets you in near-total solitude before 8am, its weathered walls glowing amber as the sun climbs. Move slowly here—there's no need to cover ground quickly when every turn reveals another panel of ancient handiwork.

After a light midday stop at the Rochester Panel, the pace eases further. With no dining options mapped directly within the canyon, plan to head back toward Price for a relaxed lunch and to rest through the hottest hours of the day, when the sun is highest and least forgiving for walking.

Evening settles in with the canyon's colors deepening to rust and violet. Return to Price for dinner at a comfortable, quiet restaurant of your choosing, and consider an early night—tomorrow's drive into Cottonwood Canyon rewards an equally early start.

Scenic immersion

Day 2: Into Cottonwood Canyon's Quiet Grandeur

A single extended stop in Cottonwood Canyon with generous rest breaks, covering roughly 1 mile of easy-to-moderate walking in cool morning shade.

Wear
Breathable long sleeves, sun hat, moisture-wicking socks, broken-in walking shoes, and layers for the cooler shaded sections of the canyon.
Budget
$60–$90 per person including breakfast, lunch, and fuel
40 min driveA quiet early drive from Price, the road nearly empty, canyon walls slowly rising into view as daylight strengthens.
7:30 AM - 10:00 AM
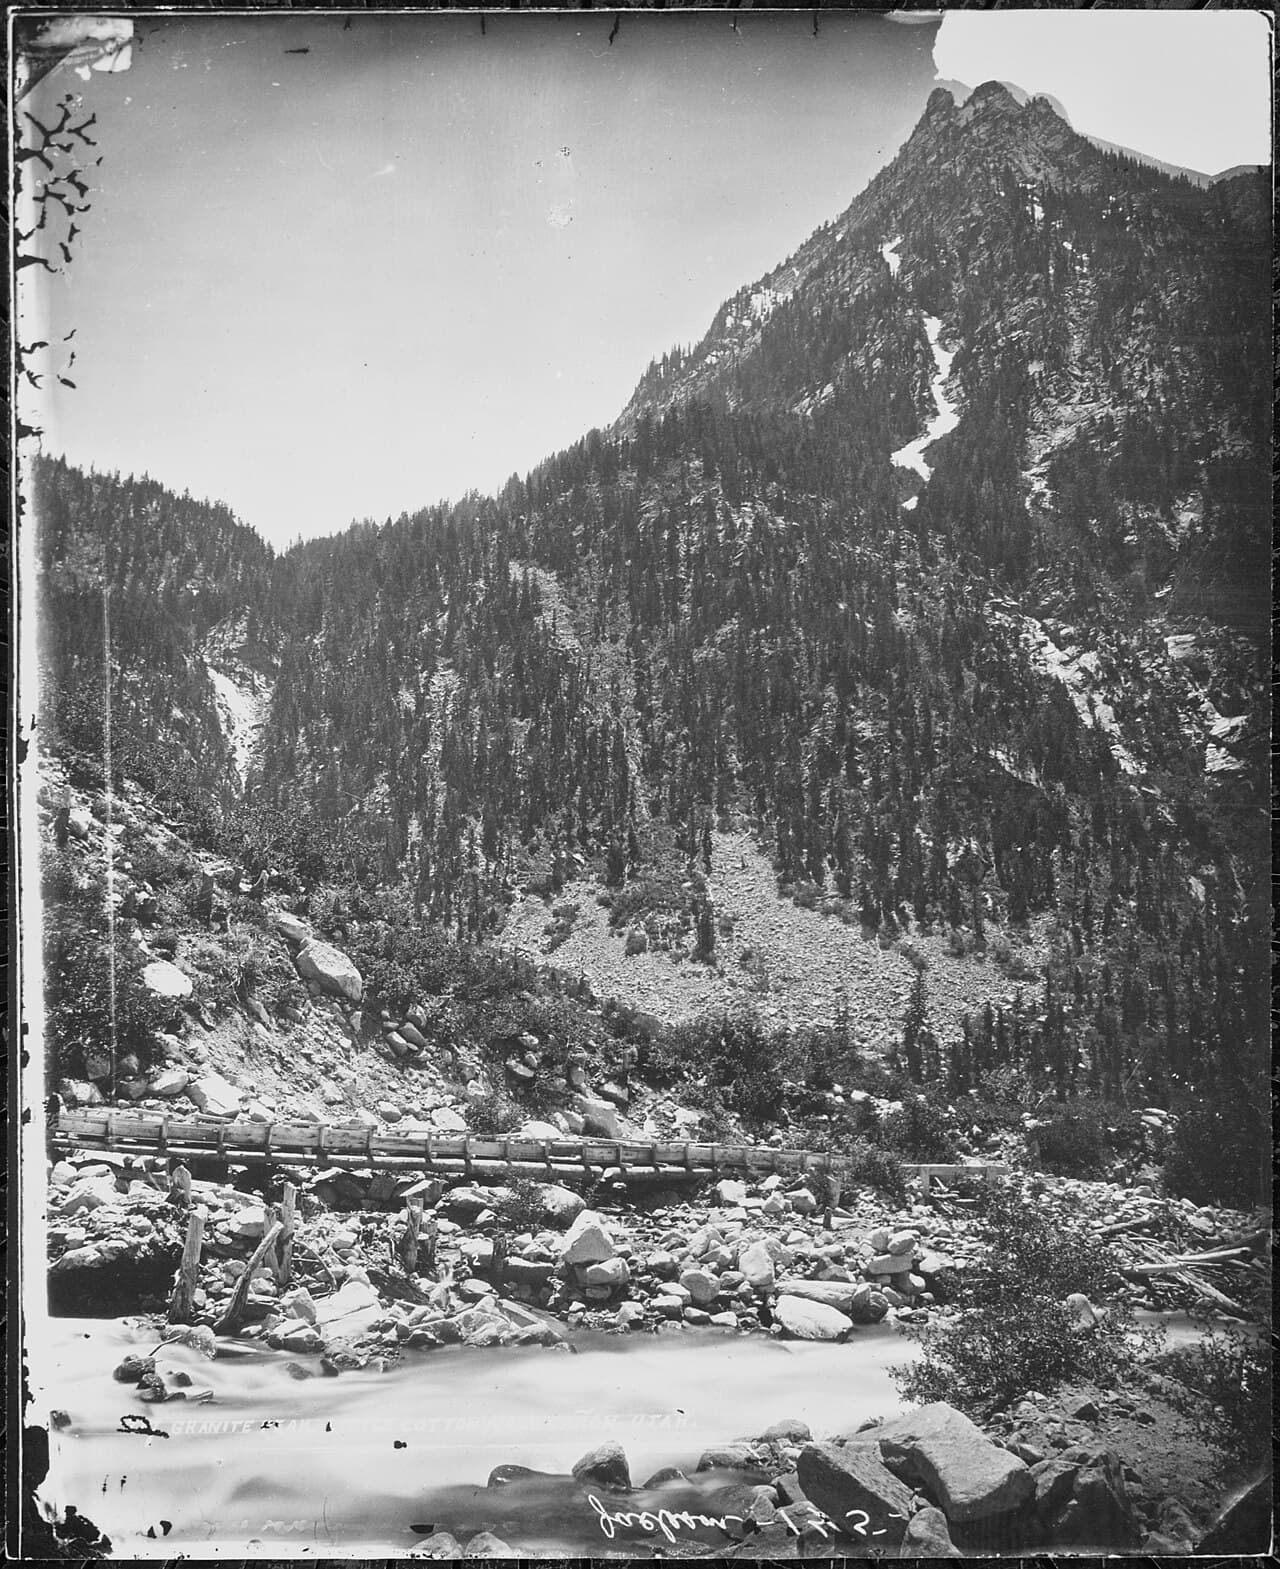
Cottonwood Canyon · morning · 150 min · Cottonwood Canyon

Arrive by 7:30am and the canyon is yours—by mid-morning, weekend crowds can build noticeably. Towering red and tan stone rises overhead, the air cool and shaded as the canyon narrows, with the faint scent of sage and juniper drifting on dry currents. Take the lower, more level sections at an easy pace, resting on natural rock formations as needed, and let the scale of the place settle in rather than rushing toward any single viewpoint.

Cottonwood Canyon
William Henry Jackson / wikimedia (Public domain)
The upper canyon rim overlook, where light breaks through a narrow opening, is best photographed between 8 and 9am before the sun climbs too high and flattens the contrast.
Not recommended for wheelchair users or those with significant mobility limitations; the terrain is uneven with no formal benches, though flat resting spots exist along the canyon floor near mile 1.5–2.
Optional detour: Green River Overlook TrailBefore or after Cottonwood Canyon, if energy allows
Offers sweeping views of layered canyon ridges and the Green River bend for those wanting one more moderate walk. Skip if: Skip if legs are tired from the previous day or if afternoon heat is building, since the trail has no shade and moderate elevation change.
If it rains: If thunderstorms threaten, avoid Cottonwood Canyon entirely due to flash flood risk and instead spend the morning at a Price-area museum or gallery, saving the canyon for a future clear day.

The second day opens with an early, quiet drive toward Cottonwood Canyon, the road nearly empty and the light still soft. Once inside, the canyon's scale becomes apparent slowly—towering walls, cool shaded air, and a hush that invites lingering rather than covering ground quickly.

By late morning, as temperatures climb, it's time to retreat toward Price for a relaxed lunch and some downtime indoors during the hottest part of the day. This is a good window for a slower-paced museum visit or simply resting before the drive home or onward.

As the trip winds down, take a final quiet evening in Price, reflecting on two unhurried days spent among some of the oldest recorded human stories in the region—no rush, no crowds, just red rock and silence well spent.

Want to tweak this trip?

Our AI planner can customize this itinerary to your exact dates, interests, and travel style.

Customize This Itinerary
Good to Know

Restaurant details (hours, menus, availability) change frequently. Check current hours before visiting, especially in seasonal destinations.

Dietary compatibility tags are general guidance. If you have severe allergies, confirm directly with the restaurant.

Travel tips are general guidance, not professional safety advice. Check government advisories for latest information.

All prices are approximate and may vary seasonally.

We use cookies to improve your experience and analyze site usage. Essential cookies are always active. You can customize your preferences or accept all cookies. Cookie Policy