Nine Mile Canyon (near Price), Utah
2-Day Itinerary for Solo Traveler
“Stone Stories: A Solo Journey Through Nine Mile Canyon”
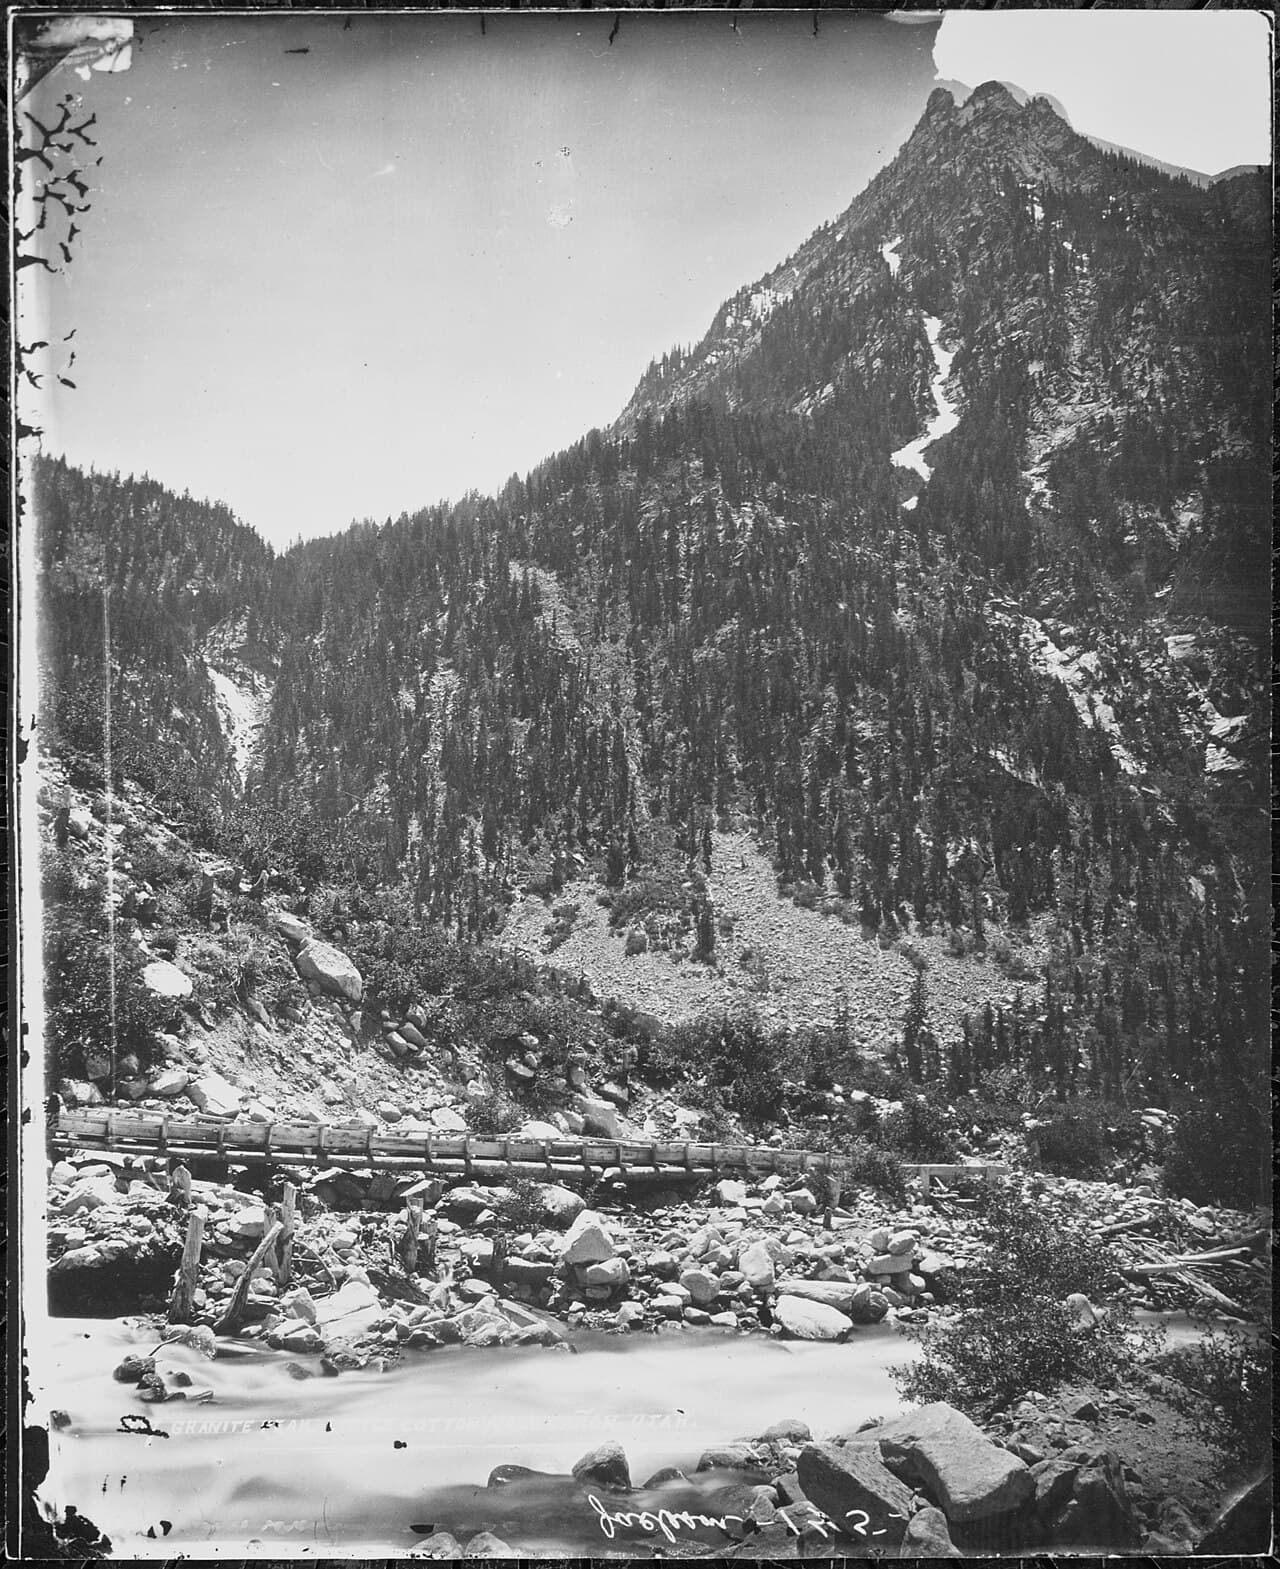
The canyon walls here don't shout — they whisper across a thousand years, ochre figures catching morning light while ravens trace slow circles overhead. This is solo travel at its most contemplative: forty miles of red rock, silence, and stories etched by hands long gone, with nothing to hurry you along but your own curiosity.
At a Glance
Highlights
- Trace ancient handprints and hunting scenes on the world's longest art gallery
- Watch dawn light break across the Pregnant Sheep Panel in near-total solitude
- Hike to Fort Bottom Ruins for sweeping Green River overlooks
- Wander the narrowing red-rock corridors of Cottonwood Canyon
- Photograph the Rochester Panel in warm late-afternoon light
- Fuel up in Price's small-town diners before heading into frontier country
- Disconnect fully — spotty cell service means real solitude
Day-by-Day Plan
Day 1: First Light on the Rock Art Corridor
A gentle first day easing into the canyon's rhythm with two flagship rock art stops and a moderate hike, covering roughly 3 miles on foot with light-to-moderate energy demands.
Arrive as the sun is still low and gold, and the canyon walls glow amber before the day's heat sets in. Weathered red and tan stone rises around you, faint humanoid figures and spiral motifs catching the raking light in ways they won't by midday. At this hour you'll likely have entire panels to yourself — just wind through sagebrush and the occasional raven call for company.

A short, quiet stop at one of the canyon's most intimate panels — a weathered stone portrait etched by hands from centuries past. The silence here is almost physical; you'll hear your own footsteps on dry earth and little else. Trace the carved figures with your eyes, not your hands, and take a moment to simply sit with how old this place really is.
After a picnic lunch, stretch your legs on this moderate trail where desert heat and juniper scent accompany you toward sweeping views of canyon ridges stretching to the horizon. It's a satisfying shift from stillness to gentle motion — a chance to feel the scale of this landscape in your legs, not just your eyes. Solo hikers often find fellow explorers here around midday; a nod and a shared view of the Green River bend is common trail etiquette.
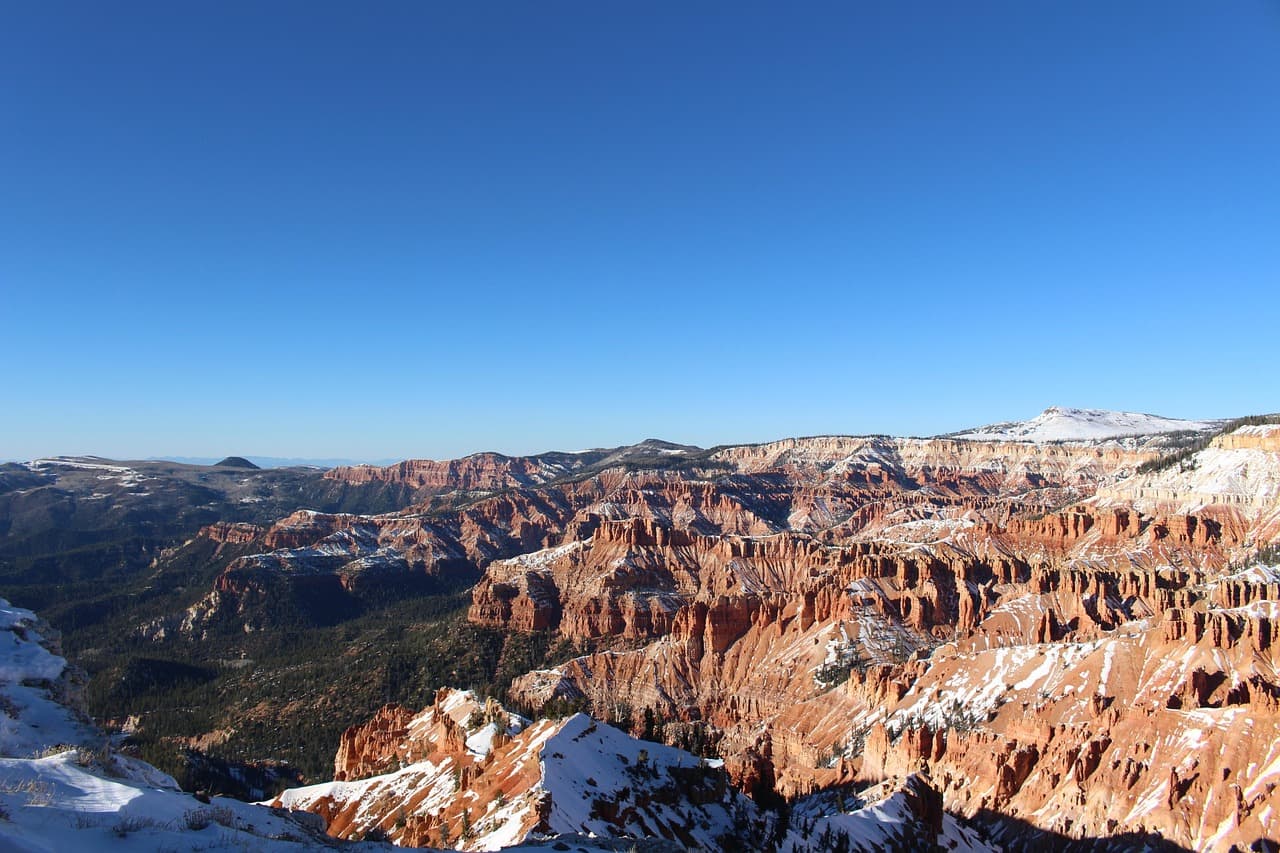
The day begins early, with the canyon still holding onto its overnight cool. Arriving at the rock art panels before 8am means the light is doing all the work — raking gold across ochre stone, throwing the ancient figures into sharp relief. There's a stillness here that's hard to describe until you're standing in it: just wind, sagebrush, and the occasional distant raven. A short drive deeper into the canyon brings you to the Pregnant Sheep Panel, an intimate stop that rewards quiet attention over hurried sightseeing.
After a simple packed lunch enjoyed canyon-side, the pace shifts from contemplative to active on the Green River Overlook Trail. The trail rewards moderate effort with wide, layered views — canyon ridges folding into each other under a big sky, the Green River tracing a distant silver line below. It's a good stretch for solo hikers looking to meet like-minded explorers; the overlook naturally becomes a small gathering point for shared awe.
As the light softens, make your way back toward Price for dinner and rest. This first day is intentionally light — no long drives after dark, no rushed itinerary — just a settling into the canyon's slower rhythm before tomorrow's deeper exploration into Cottonwood Canyon and Fort Bottom Ruins.
Day 2: Deep Canyon, Golden Hour, and Ancient Ruins
A moderately demanding day combining a high-energy canyon hike with two archaeological highlights, covering approximately 4–5 miles with sustained walking and some elevation change.
Arrive early to beat both the heat and the modest weekend crowds — by 7:30am the canyon is yours, cool shade pooling along the narrowing walls as red and tan stone towers overhead. The faint rush of seasonal water below and the scent of sage on dry air make this feel like a world apart from the open rock art corridor of yesterday. This is the day's most physically demanding stretch, well-suited to solo hikers who relish quiet, high-energy exploration.
A calmer counterpoint to the morning's exertion — warm red sandstone underfoot, ancient hand-carved grooves catching midday light. This low-energy stop offers a chance to slow down and study the artistry up close, tracing the anthropomorphic figures with your eyes while the desert silence settles back in around you.

The day's quiet high point: stone granaries glowing amber against deep blue sky, the Green River murmuring far below. Almost no one else makes it out this far, so the solitude is complete — just you, weathered stone walls, and the profound sense of walking where the Fremont once walked. It's a fitting, contemplative close to the physical demands of the morning.
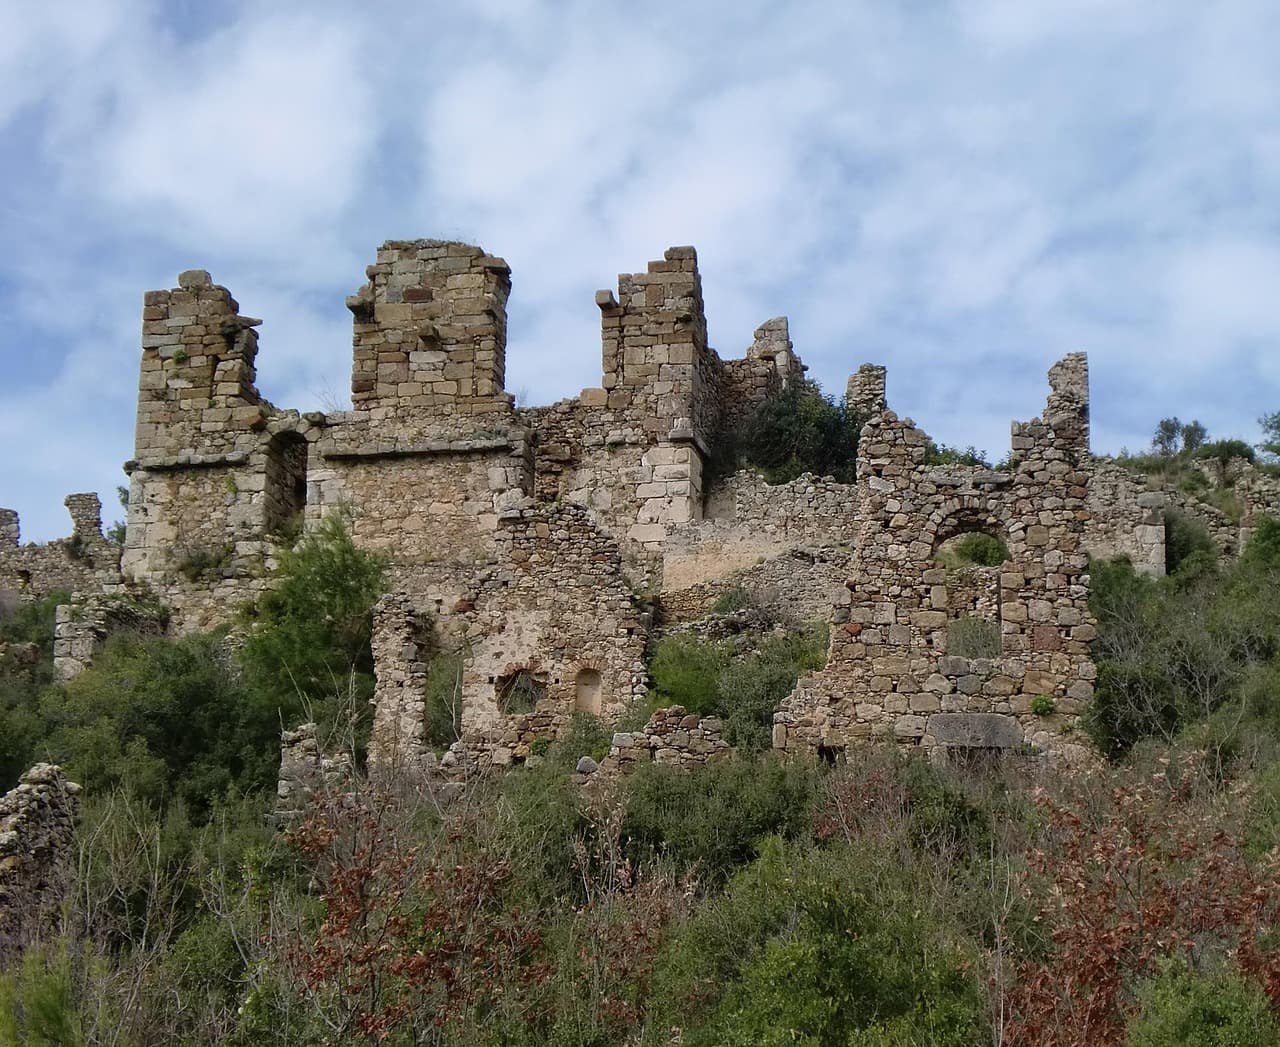
The second day asks more of you physically, so an early start into Cottonwood Canyon makes the most of cool morning air and near-total solitude. The canyon narrows gradually, red-rock walls rising to frame narrow bands of sky, the faint sound of seasonal water below accompanying each step. It's the trip's most immersive wilderness stretch — a rewarding contrast to yesterday's more contemplative rock art viewing.
After the exertion of Cottonwood Canyon, the pace deliberately softens at Rochester Panel — a short, low-energy stop to recover and refocus attention on fine carved detail. From there, the drive to Fort Bottom Ruins carries you into the canyon's most remote corner, where stone granaries and sweeping Green River views reward the effort of getting there. Few visitors make it this far, so expect complete quiet.
With the ruins behind you, the drive back toward Price or Helper offers a natural wind-down, canyon walls slowly giving way to open sky. This is a good evening to reflect over a simple dinner in town — small-town hours mean an earlier close to the day, which suits the quiet, self-paced rhythm this trip has settled into.
Want to tweak this trip?
Our AI planner can customize this itinerary to your exact dates, interests, and travel style.
Customize This ItineraryRestaurant details (hours, menus, availability) change frequently. Check current hours before visiting, especially in seasonal destinations.
Dietary compatibility tags are general guidance. If you have severe allergies, confirm directly with the restaurant.
Travel tips are general guidance, not professional safety advice. Check government advisories for latest information.
All prices are approximate and may vary seasonally.