Nine Mile Canyon (near Price), Utah
3-Day Itinerary for Teen Families
“Stone Stories & Canyon Light: 3 Days in Nine Mile Canyon”
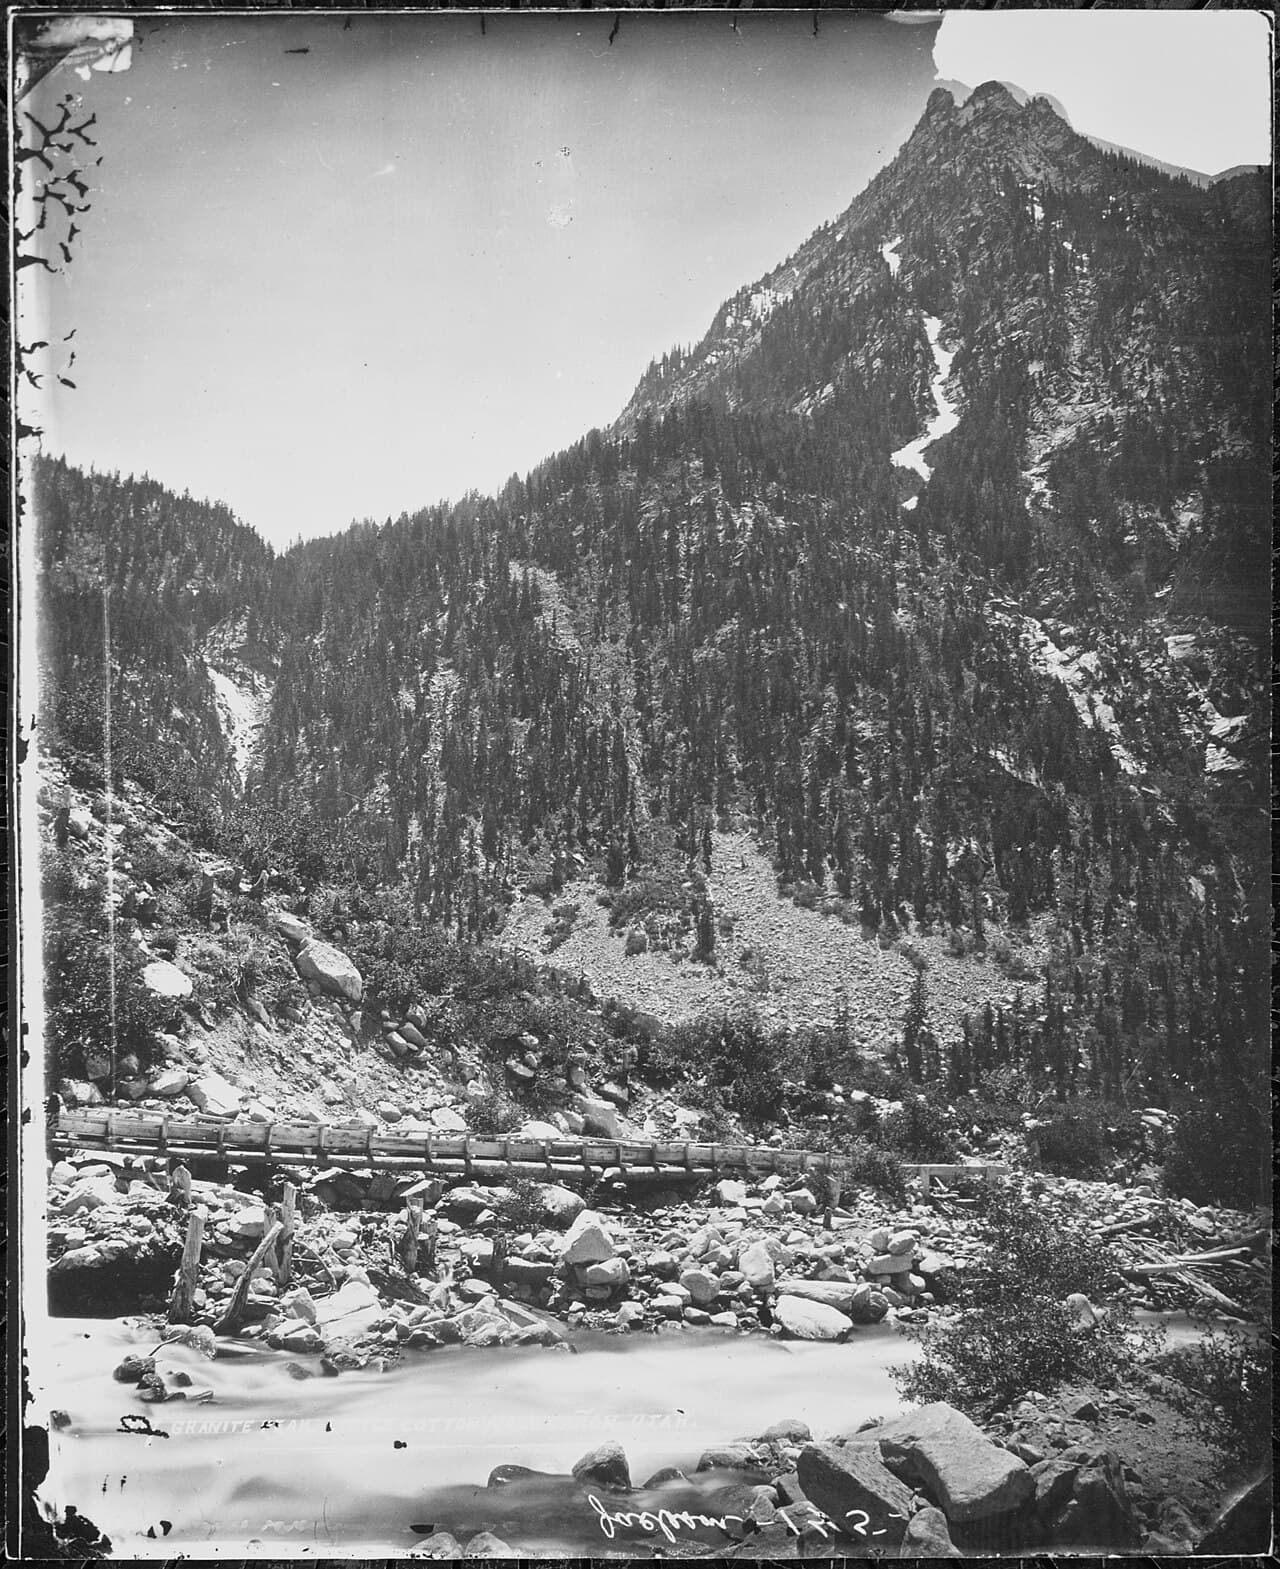
Forty miles of red rock unfold like a scroll, each bend revealing another panel of ancient handprints and hunting scenes etched by hands long gone. This is a place where teens put their phones away not because they're told to, but because the silence and the scale demand it — and where parents get the rare gift of watching curiosity take over.
At a Glance
Highlights
- Sunrise light on the Pregnant Sheep Panel with nobody else around
- Tracing Fremont handprints at the Rochester Panel in late-afternoon glow
- A moderate hike to Green River Overlook with sweeping canyon views
- Exploring Fort Bottom's stone granaries above the river
- Canyon narrows and streambed bends in Cottonwood Canyon
- Fueling up in Price's no-frills, family-friendly diners before the drive in
- Wildflowers and mild spring air along the canyon floor
Day-by-Day Plan
Day 1: Arrival & First Light on the Canyon Floor
A gentle first day easing into the canyon's rhythm with two accessible rock art stops and plenty of buffer time; about 1.5 miles of easy walking total.
The canyon opens slowly, red and tan walls rising like pages of a story too old to fully read. Arrive by 8am and the light rakes sideways across the rock, throwing faint humanoid figures and spirals into sharp relief — by mid-morning, that same light flattens and the details fade. Teens tend to get pulled in fast once they start spotting figures the parents missed; it becomes a quiet competition.

A smaller, more intimate panel than the sprawling corridor stops — this one rewards close, quiet attention. The carved figures sit at eye level, close enough to study without touching, and the canyon's near-total silence here tends to slow everyone down, teens included. It's a good spot to talk about who might have carved this and why, without a crowd rushing you along.
The drive south from Price settles into a rhythm of dust and quiet as the canyon walls begin to rise. Arriving early at the rock art panels means near-total solitude — just wind through sagebrush and the occasional raven call — and the low morning light makes the carvings pop against the stone in a way that midday sun simply doesn't.
After the corridor, the short hop to the Pregnant Sheep Panel offers a change of pace: smaller, more intimate, and easy to absorb without rushing. This is a good stretch to let teens set the pace, lingering on whatever figure catches their eye rather than working through a checklist.
Head back into Price as the light softens, giving the group time to settle in, refuel, and talk over what they saw. With no dining data pinned to this specific stretch of canyon, plan your evening meal around Price proper rather than the trailhead — there's no shortage of casual, family-friendly options in town, even if this itinerary doesn't name a specific one for tonight.
Day 2: Ruins, Rivers, and Ridge Views
A moderately active day layering historic ruins with a scenic overlook hike, totaling roughly 2.5–3 miles of walking across uneven terrain.
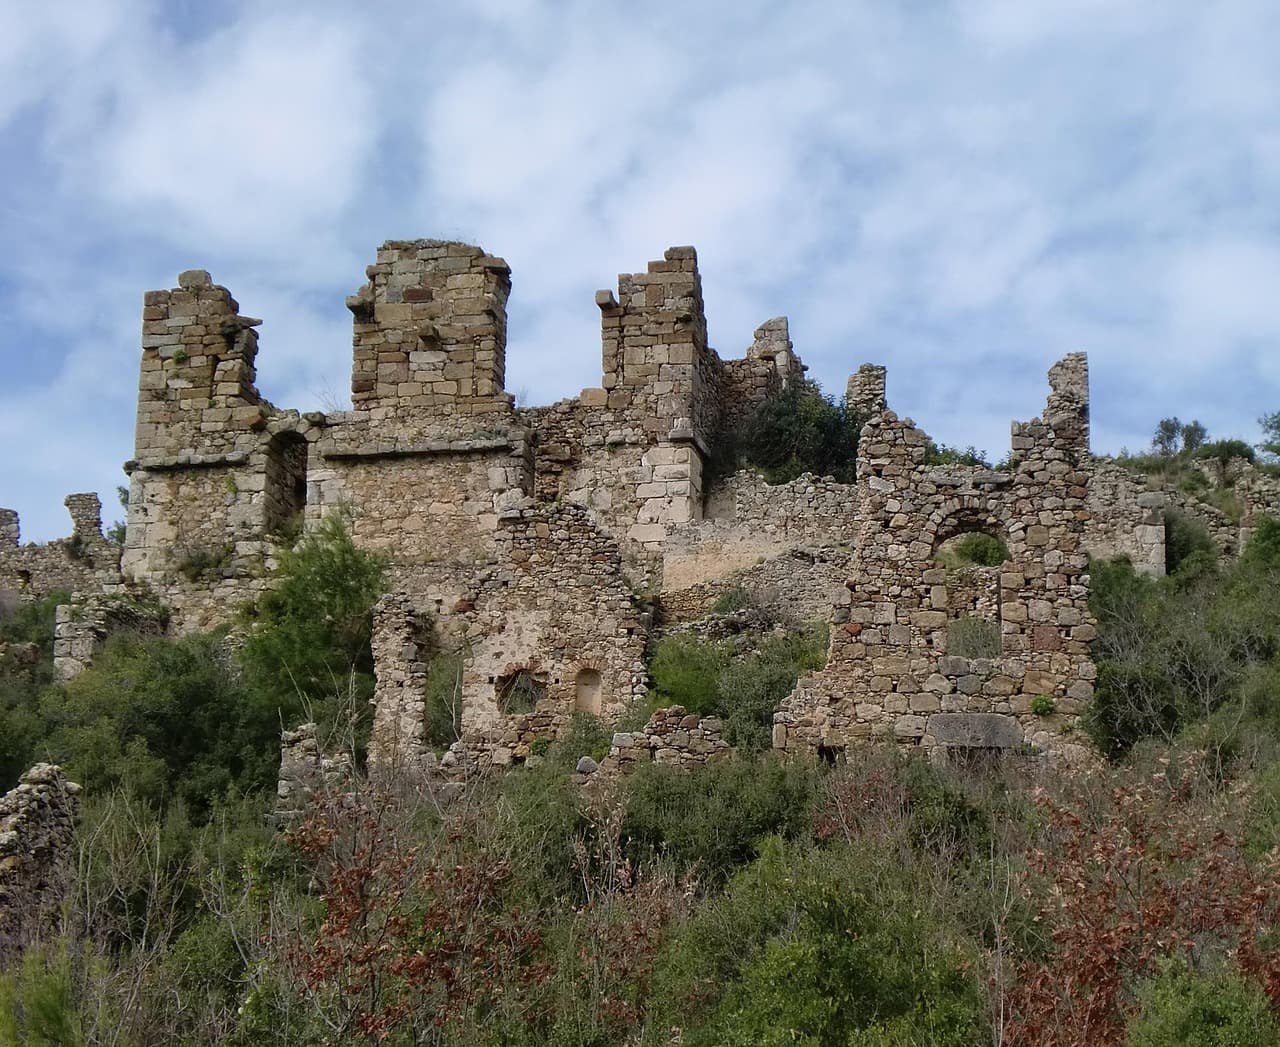
Weathered granaries perch above the Green River like they're still keeping watch, and the walk in feels like stepping into someone else's abandoned home. It's remote enough that you'll likely have the site to yourselves — a rare thing that tends to land differently on teens than any crowded landmark could. Arrive early; the road here gets rough and rougher as the day heats up and dust kicks up more with traffic.
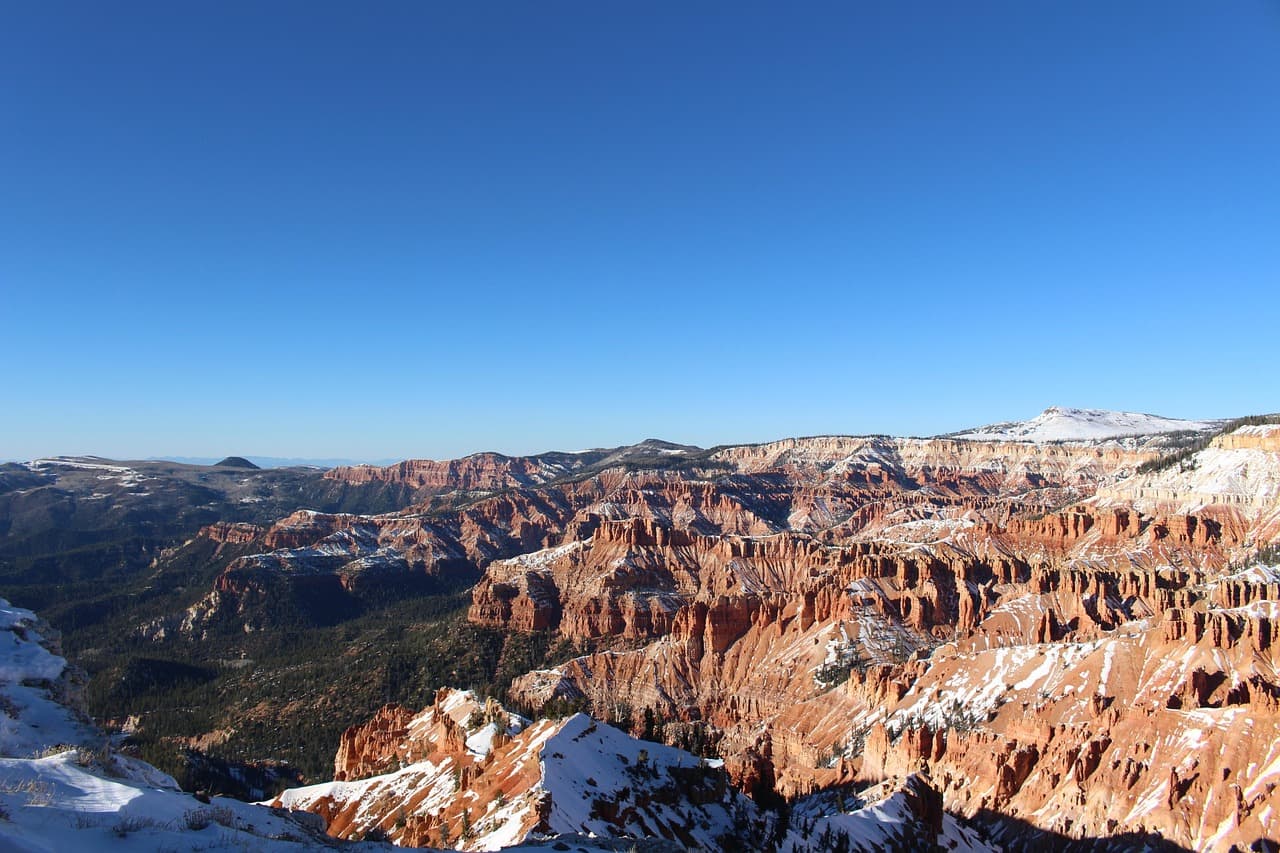
This moderate hike is the day's payoff — a 45-to-75 minute climb rewarded with canyon ridges stretching to the horizon and the Green River tracing a silver bend far below. It's just enough challenge to feel like an accomplishment without wearing out younger legs, and the main overlook platform is wide enough for the group to spread out and take it in at their own pace.
A smaller, quieter panel to close out the day — warm red sandstone catching the afternoon light just right, with individual figures sharp enough to pick out without a guide. It's a gentler stop after the morning's exertion, good for winding down while still keeping the day's cultural thread going.

The road to Fort Bottom Ruins is rougher and quieter than yesterday's route, and the reward — stone granaries watching over the Green River — feels earned. There's a stillness here that even restless teens tend to notice, the kind of quiet that makes you lower your voice without being asked.
The Green River Overlook Trail shifts the day's energy up a notch: real elevation gain, real payoff at the top. Pack lunch and water for this stretch since options are limited out here — plan meals around Price rather than expecting anything trailside. By the time you reach Rochester Panel in the afternoon, the pace eases again, letting the group close the day on a quieter note.
Back in Price by early evening, tired legs and a full memory card are the day's real souvenirs. As with the previous night, there's no specific dining pin for this stretch of canyon, so build dinner plans around Price's town-center restaurants rather than expecting anything canyon-side.
Day 3: Canyon Narrows & Farewell Light
A high-energy final day exploring Cottonwood Canyon's dramatic terrain before heading out, with roughly 2 miles of walking on varied ground.
The canyon narrows into towering red and tan walls that seem to lean in overhead, cool shade settling across your shoulders even as the sun climbs outside. Arrive by 8am to beat the moderate weekend crowds and catch the canyon at its quietest — teens tend to light up here, scrambling over streambed rocks and finding their own pace in a way the flatter panel stops don't allow. Watch the forecast closely; this is flash-flood terrain in a sudden storm.
Cottonwood Canyon closes the trip with a burst of energy — narrow passages, cool shade, and the kind of scrambling that makes teens forget they're supposed to be tired of hiking. It's the most physically engaging stop of the trip, saved intentionally for last so the group ends on adventure rather than solemn reflection.
With the canyon explored, the afternoon shifts to logistics — fueling up, grabbing supplies, and making the drive back toward Price and beyond. There's no specific dining data for this stretch, so plan a proper sit-down lunch in Price before hitting the road, rather than expecting anything canyon-side.
By early evening, the trip winds down with the drive home, red rock fading in the rearview and a phone full of photos that don't quite capture the silence of the place. It's a fitting close to three days that traded screens for stone stories.
Want to tweak this trip?
Our AI planner can customize this itinerary to your exact dates, interests, and travel style.
Customize This ItineraryRestaurant details (hours, menus, availability) change frequently. Check current hours before visiting, especially in seasonal destinations.
Dietary compatibility tags are general guidance. If you have severe allergies, confirm directly with the restaurant.
Travel tips are general guidance, not professional safety advice. Check government advisories for latest information.
All prices are approximate and may vary seasonally.