Nine Mile Canyon (near Price), Utah
3-Day Itinerary for Couples
“Stone Whispers: Three Days Among the Petroglyphs of Nine Mile Canyon”
Forty miles of red rock unspool like an ancient scroll, each bend revealing another panel of hands, spirals, and hunting scenes left by people who watched these same cliffs catch the same evening light. This is a place where silence has weight and the desert asks you to slow down — perfect for two people with nowhere else to be.
At a Glance
Highlights
- Sunrise light on thousand-year-old petroglyph panels
- The hush of Fort Bottom's stone granaries above the Green River
- A moderate hike to sweeping overlooks with almost no other travelers
- Golden-hour photography at the Rochester Panel
- Deep canyon shade and seasonal water sounds in Cottonwood Canyon
- Self-sufficient frontier travel — fill up, pack in, and disconnect together
Day-by-Day Plan
Day 1: Arrival & First Light on the Canyon Floor
A lighter first day easing into the canyon's rhythm with roughly 2 miles of easy walking and a moderate energy level, anchored by the canyon's signature rock art.
Arrive while the canyon is still holding its breath — by 7:30am you'll likely have these ochre walls entirely to yourselves, the low sun raking sideways across faint humanoid figures and spiral motifs that all but disappear under midday glare. Wind moves through sagebrush, a raven calls somewhere upcanyon, and the only other sound is your own footsteps on dry earth. This is the gentlest possible introduction to the canyon's scale — save the longer hikes for tomorrow.

A short, quiet stop where you can trace — without touching — the carved figures of a panel that has watched centuries pass. The canyon narrows slightly here, the ochre and rust stone closing in a little, which makes the silence feel even more complete. Couples often linger here longer than planned; there's no rush today.
Return for late-afternoon light, when the warm red sandstone catches a low sun and the carved grooves of anthropomorphic figures seem to deepen and glow. It's an intimate, low-energy close to the day — just desert wind and the two of you tracing a gallery older than written language.

The drive south from Price arrives quietly, the canyon walls rising up like a held breath before the road narrows and the world outside softens into sage and stone. First light at the rock art panels is a slow unveiling — faint figures emerge from shadow as the sun climbs, and for a couple willing to rise early, this hour belongs almost entirely to you.
After a midday pause to escape the heat — pack a cooler lunch and eat it in whatever shade the canyon offers, since there are no services once you're past Price — the pace shifts toward stillness at the Pregnant Sheep Panel, a shorter, more contemplative stop that asks for quiet attention rather than long miles.
As the light turns amber, Rochester Panel becomes the day's emotional high point, the carvings glowing warm before you make the drive back toward Price for dinner and rest, letting the canyon's hush settle into the evening.
Day 2: Ruins, Rivers, and the Long View
The most physically active day, covering roughly 3.5 miles across two moderate hikes with sweeping views, best tackled with an early start to beat summer heat.
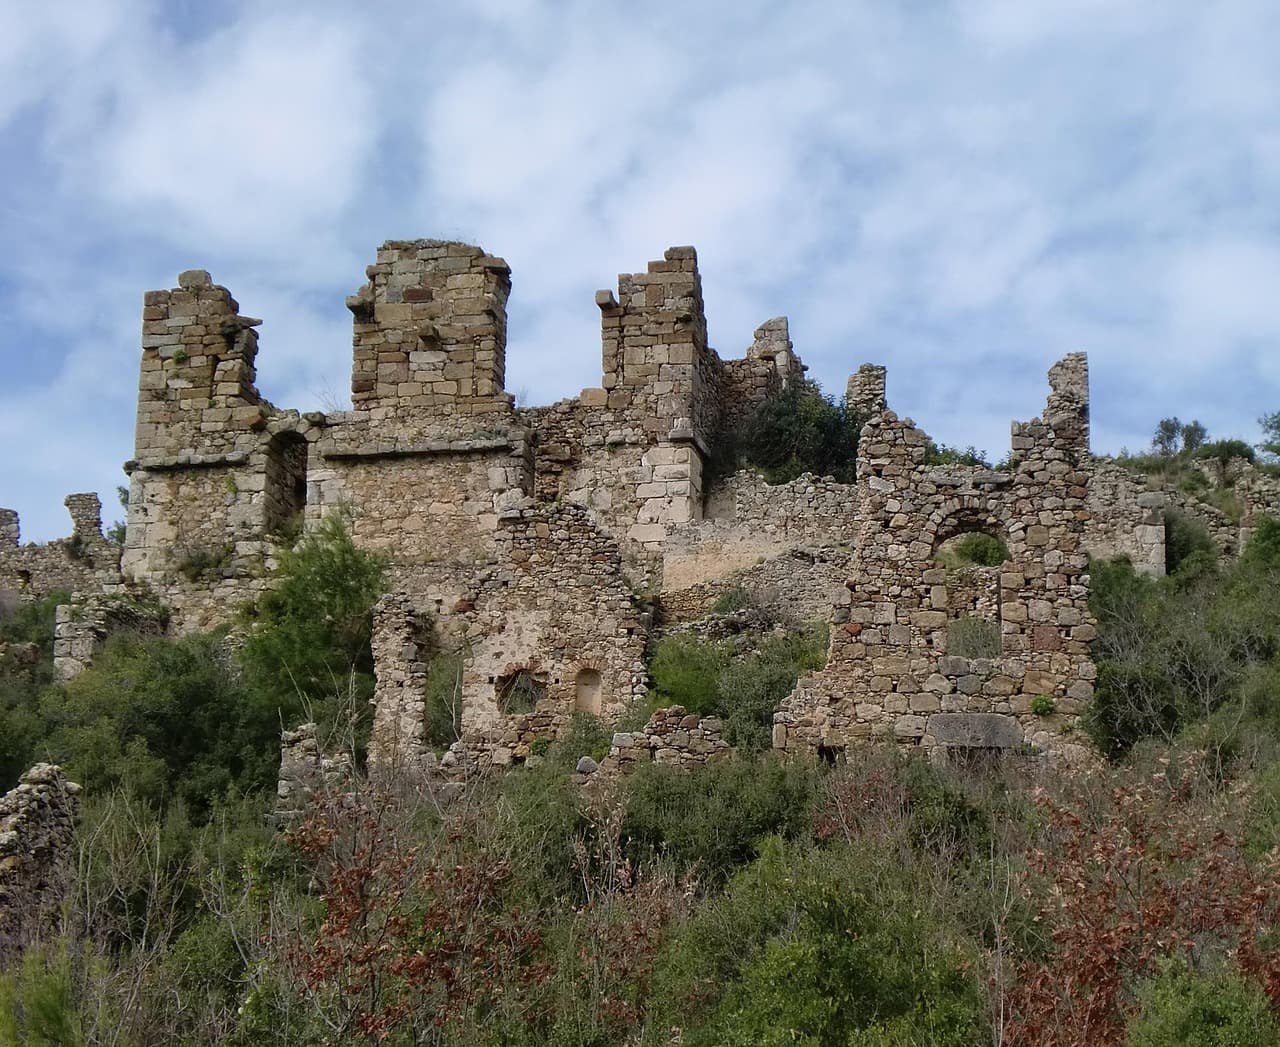
Arrive early and the stone granaries glow amber against a still-cool blue sky, the Green River murmuring faintly far below. This remote site sees almost no visitors even in peak season, which makes it feel like a discovery shared only between the two of you — dusty sage underfoot, the wind moving through juniper, and centuries of Fremont presence pressed into the stone structures around you.
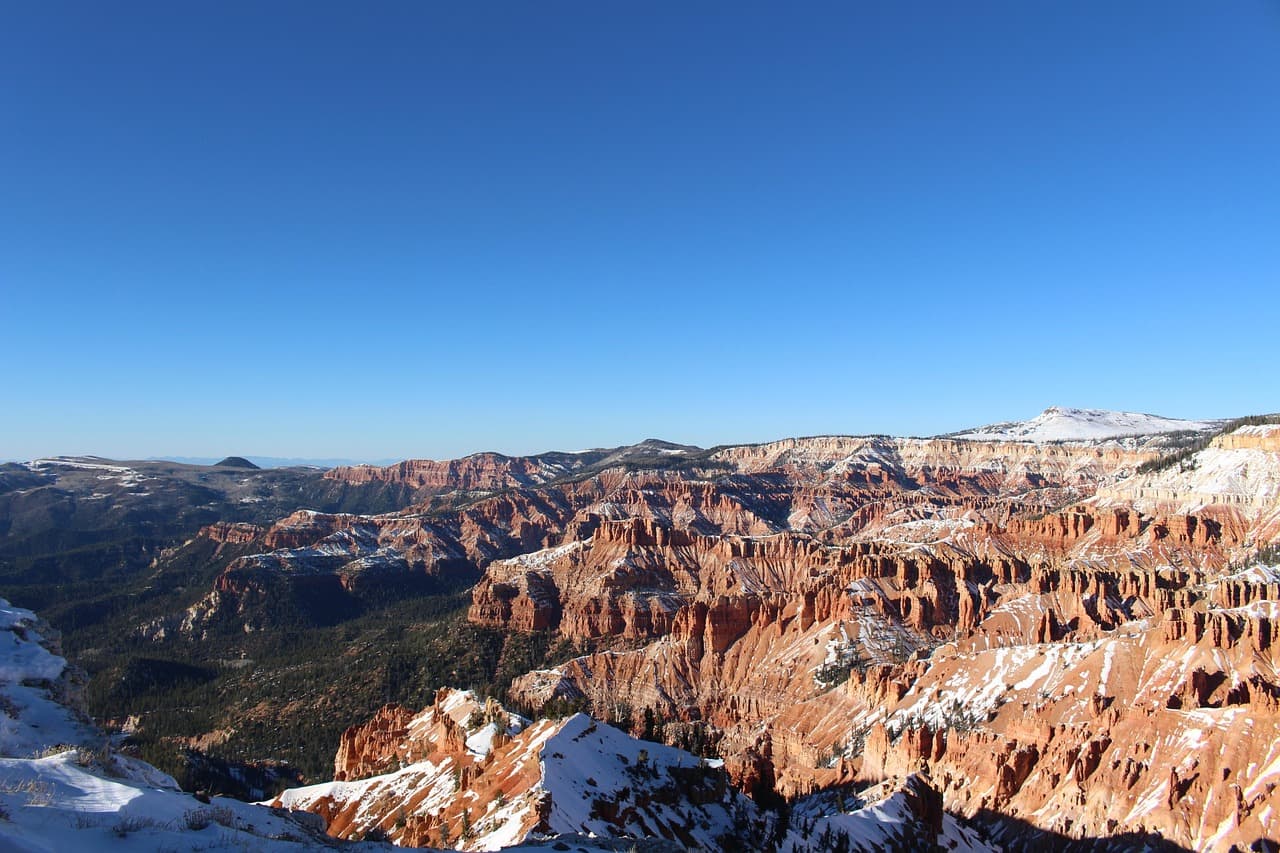
A moderate hike rewards you with endless canyon ridgelines and desert heat on your skin, the scent of sage carried on the wind. Go now, before midday crowds (modest as they are here) build — mornings are quiet, and by afternoon you'll have earned the shade of a lunch break. This is a five-star pairing for couples: dramatic, unhurried, and easy to share a quiet moment on the main overlook platform.
Return to the main corridor for a second, slower pass — this time seeking out the Tavaputs Plateau overlook panels and the horse panel cluster you may have hurried past on day one. Late-afternoon light shifts the mood entirely, throwing new shadows across old grooves, and after a full day of hiking, this feels like a well-earned wind-down rather than a rush.
The pre-dawn drive to Fort Bottom Ruins rewards patience: the stone granaries catch first light while the Green River sends up a faint murmur from far below, and the emptiness of the trail makes the whole experience feel intimate, almost private.
By midday, the Green River Overlook Trail shifts the pace into something more physical — a moderate climb through juniper and sage that opens onto layered canyon views stretching to the horizon — followed by a shaded lunch break to escape the day's building heat before the return drive.
As the sun lowers, a second visit to the main rock art corridor reveals panels in an entirely different light than the morning before, a quiet, reflective close to the most active day of the trip, followed by a well-deserved upscale dinner back in Helper or Price.
Day 3: Canyon Shadows and a Slow Goodbye
A shorter, high-reward final day centered on Cottonwood Canyon's dramatic walls, roughly 2 miles of walking with a relaxed pace before departure.
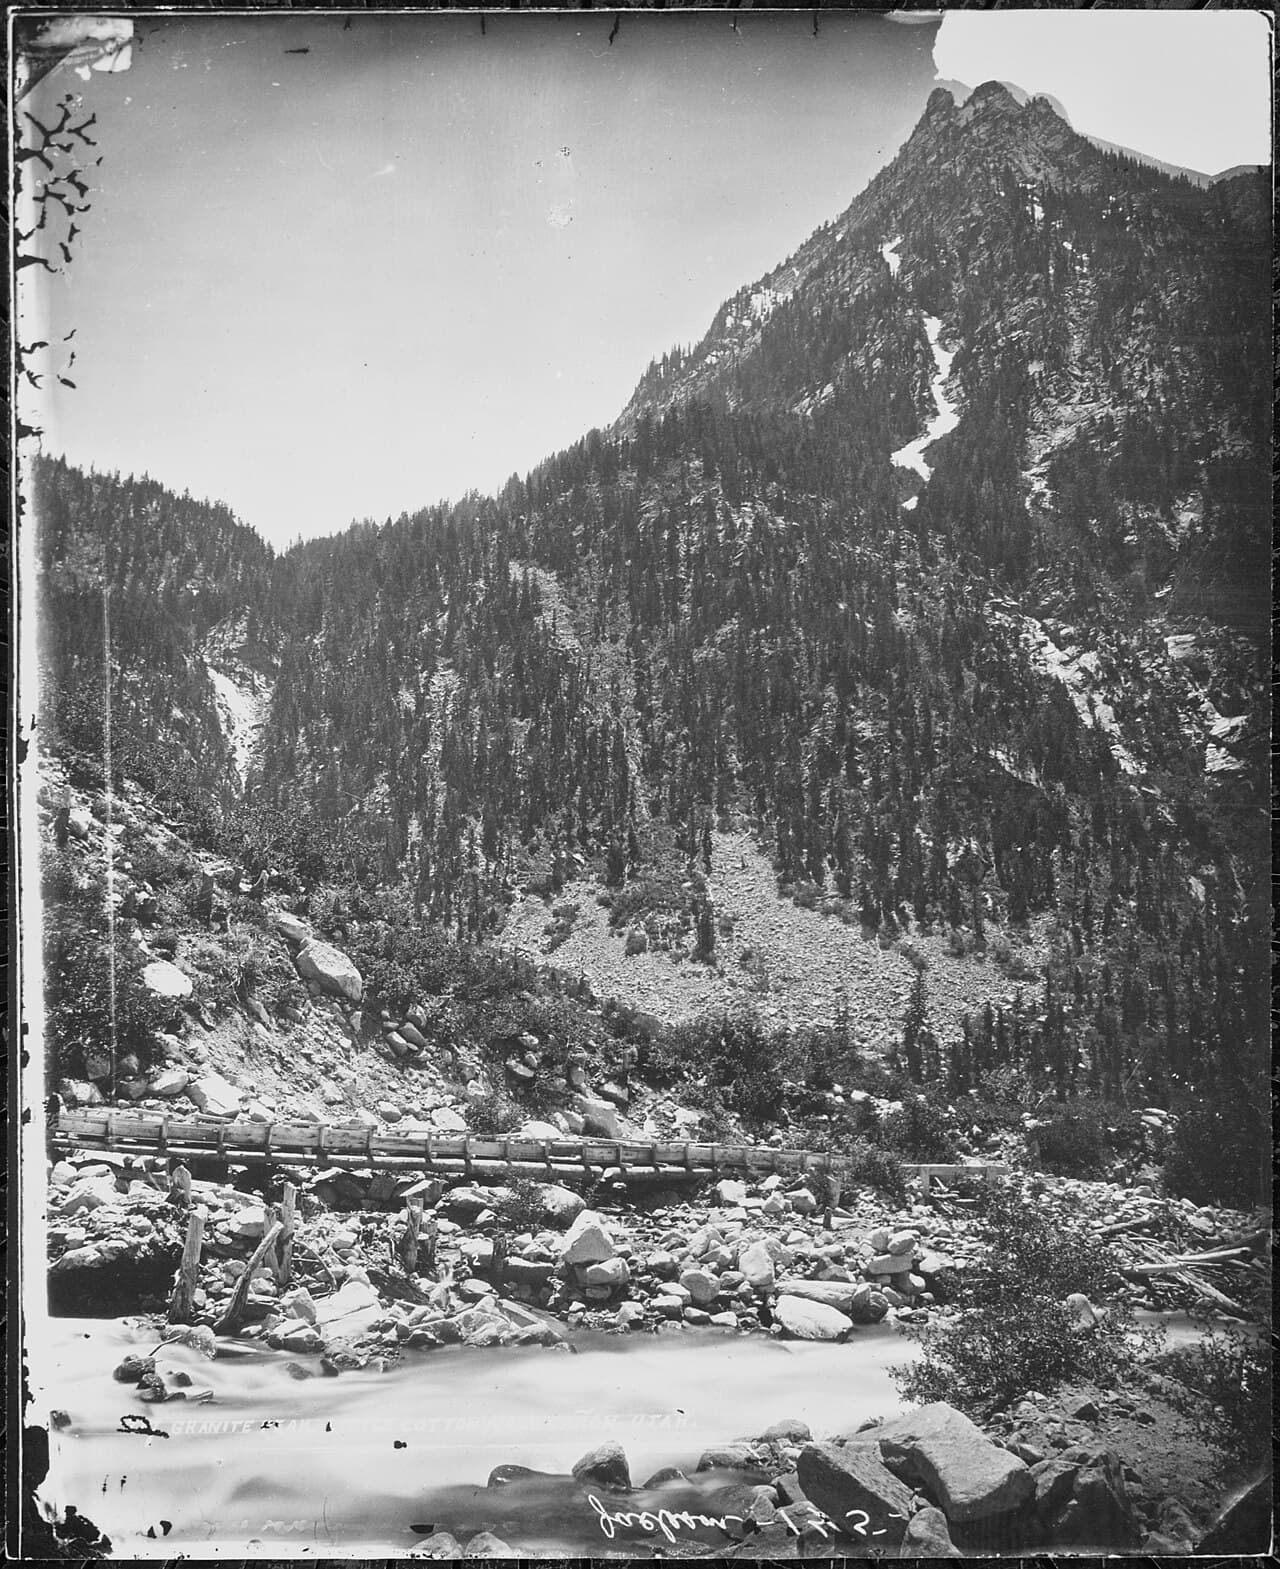
Arrive early to claim solitude before weekend crowds build — by 7:30am the canyon is yours, red and tan stone towering overhead, cool shade settling across your shoulders as the walls narrow. The faint rush of seasonal water and the scent of sage and juniper make this feel like the wildest, most rewarding stop of the whole trip, a fitting high note for two people who've earned it.
A final, unhurried pass through the canyon mouth approach offers one last look at the panels that defined the trip, this time with the relaxed familiarity of a place you've come to know over three days. It's less about discovery now and more about savoring — a quiet last hour together before the drive back toward Price.
The final morning belongs to Cottonwood Canyon's raw, high-walled drama — cooler air, deep shade, and the sense of having found something wilder and less traveled than the main corridor, a strong closing image for the trip.
A last, easy stop back at the main rock art corridor lets the pace soften into reflection rather than exploration, a chance to linger over favorite panels once more before turning the car back toward Price.
With the canyon behind you, the drive out feels different than the drive in — familiar now, softened by three days of shared quiet — leaving time for a relaxed final dinner in Price before departure.
Want to tweak this trip?
Our AI planner can customize this itinerary to your exact dates, interests, and travel style.
Customize This ItineraryRestaurant details (hours, menus, availability) change frequently. Check current hours before visiting, especially in seasonal destinations.
Dietary compatibility tags are general guidance. If you have severe allergies, confirm directly with the restaurant.
Travel tips are general guidance, not professional safety advice. Check government advisories for latest information.
All prices are approximate and may vary seasonally.